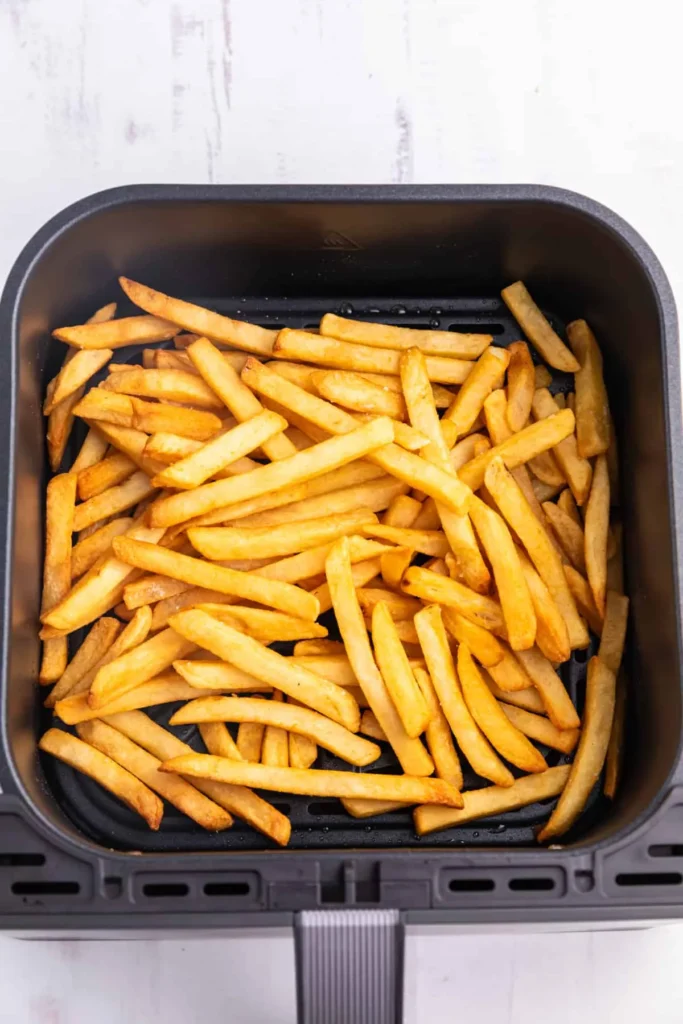
Ask any air fryer owner how long to cook homemade fries in an air fryer and you’ll get a dozen different answers. That’s not because people are guessing. It’s because the real answer depends on several things you control at the cutting board.
A standard ⅜-inch cut Russet fry at 380°F takes 15 to 18 minutes in most basket-style air fryers. But change the potato to a waxy Yukon Gold or cut wedges instead of batons, and that number swings by five, even ten minutes. Nail the variables first and the cook time lands in your lap.
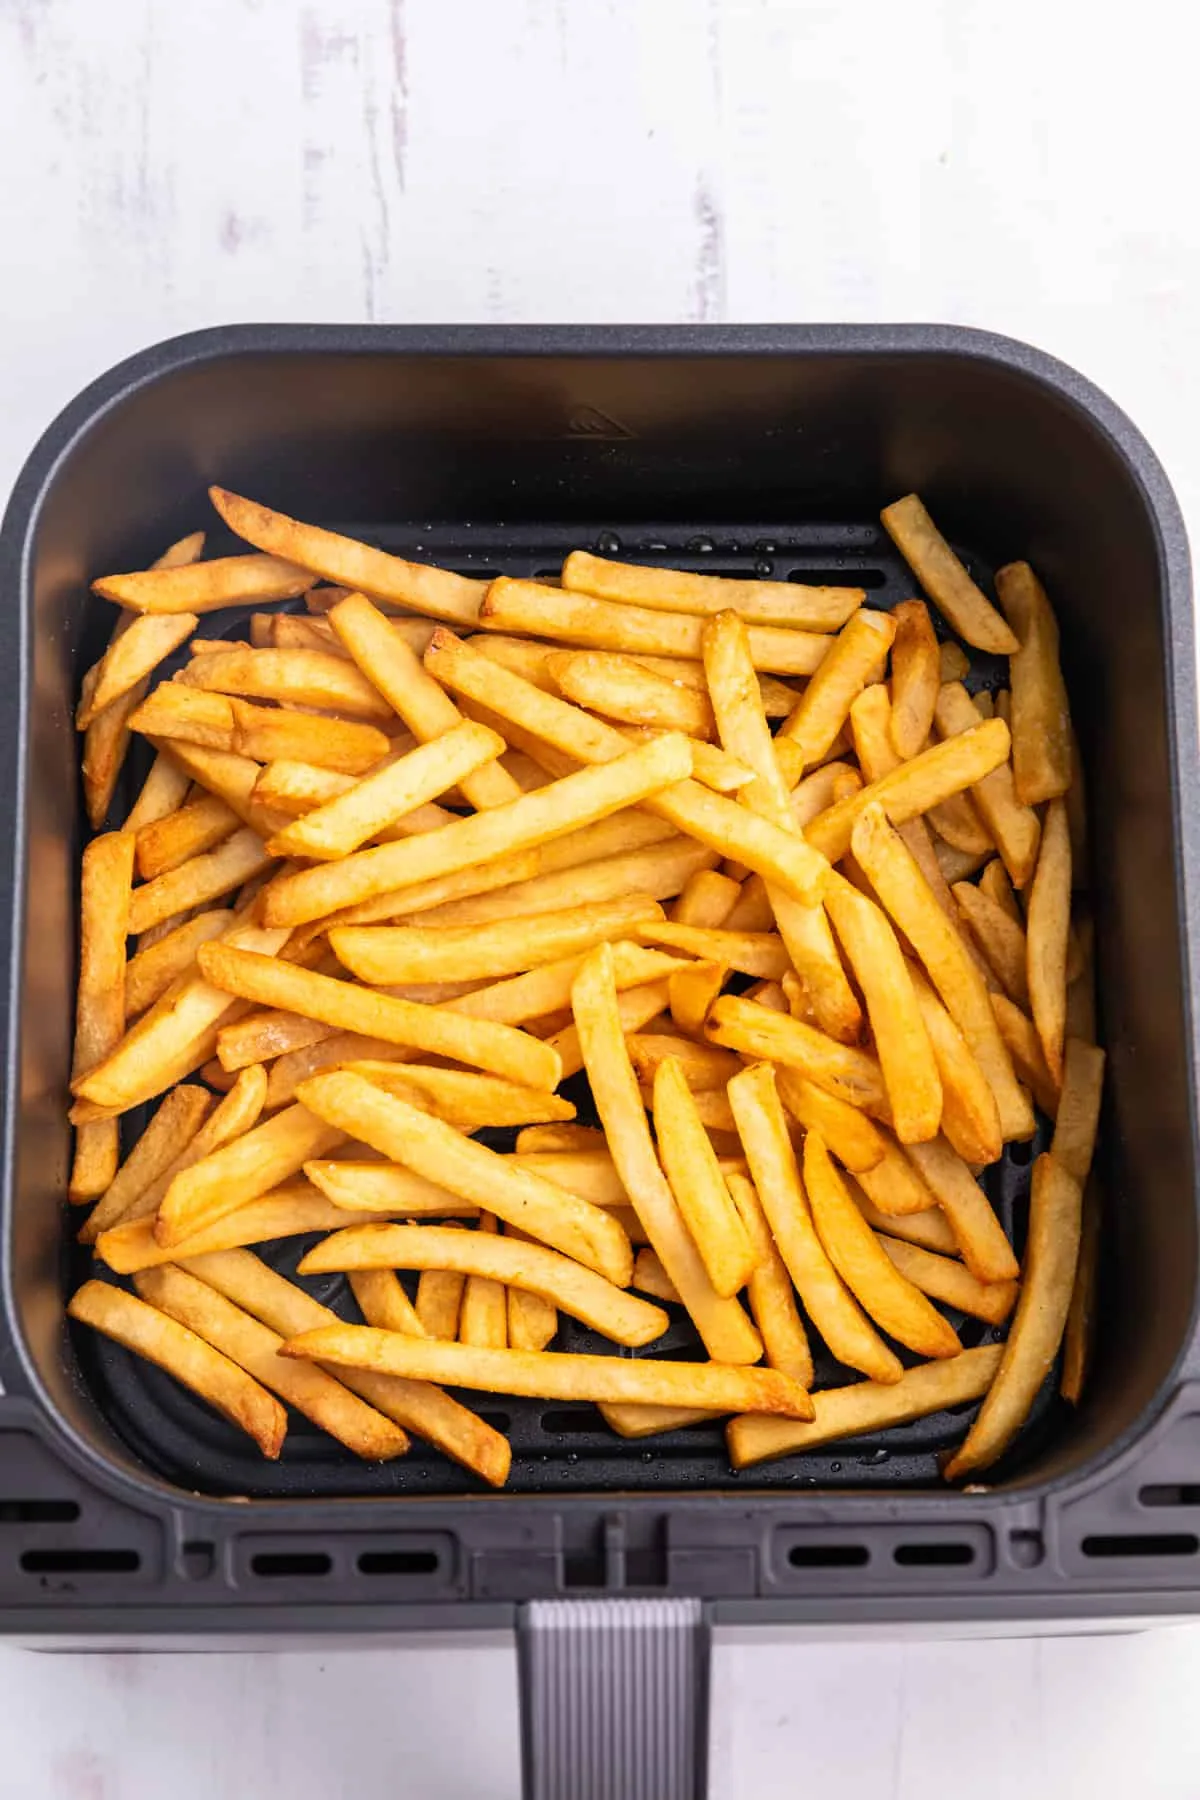
Image source: Web (Bing) / busydaydinners.com (Web image (fair-use with source credit))
Quick Answer
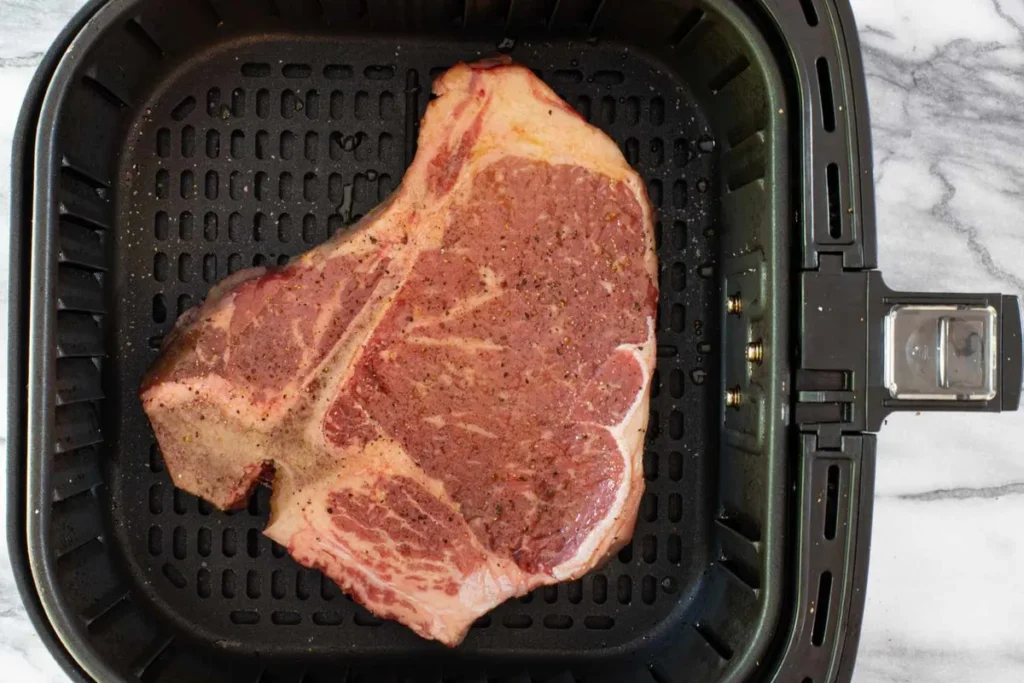
For a standard ⅜-inch thick Russet fry in a preheated 380°F air fryer, cook time is 15 to 18 minutes. Thinner shoestring fries need 10 to 12 minutes. Thick steak cuts take 18 to 22 minutes.
Sweet potato fries cook faster at a lower 350°F for 12 to 16 minutes. Always arrange in a single layer and shake halfway.
The Real Reason “15 Minutes at 400°F” Keeps Failing You
That one-size-fits-all number you see on recipe cards assumes a very specific scenario. It usually assumes a high-wattage basket air fryer preheated precisely to 400°F. It assumes a particular potato variety, a particular cut thickness, and a generous amount of oil.
If any of those don’t match what’s on your counter, the results fall apart.
Your machine’s wattage matters a lot. A compact 800-watt air fryer circulates heat differently than a 1,700-watt oven-style model. Even where you position your machine on the counter can alter airflow, because blocking the exhaust vent pushes cook times longer.
We cover that in detail in our guide to air fryer clearance under cabinets. Our research into air fryer model wattages across dozens of verified buyer reports confirms that a 30- to 50-degree temperature offset isn’t uncommon. That’s why the “400°F for 15 minutes” script burns one batch and undercooks the next.
Once you understand the four real variables, you stop reading a recipe and start reading the food.
The Four Variables That Actually Dictate Your Cook Time
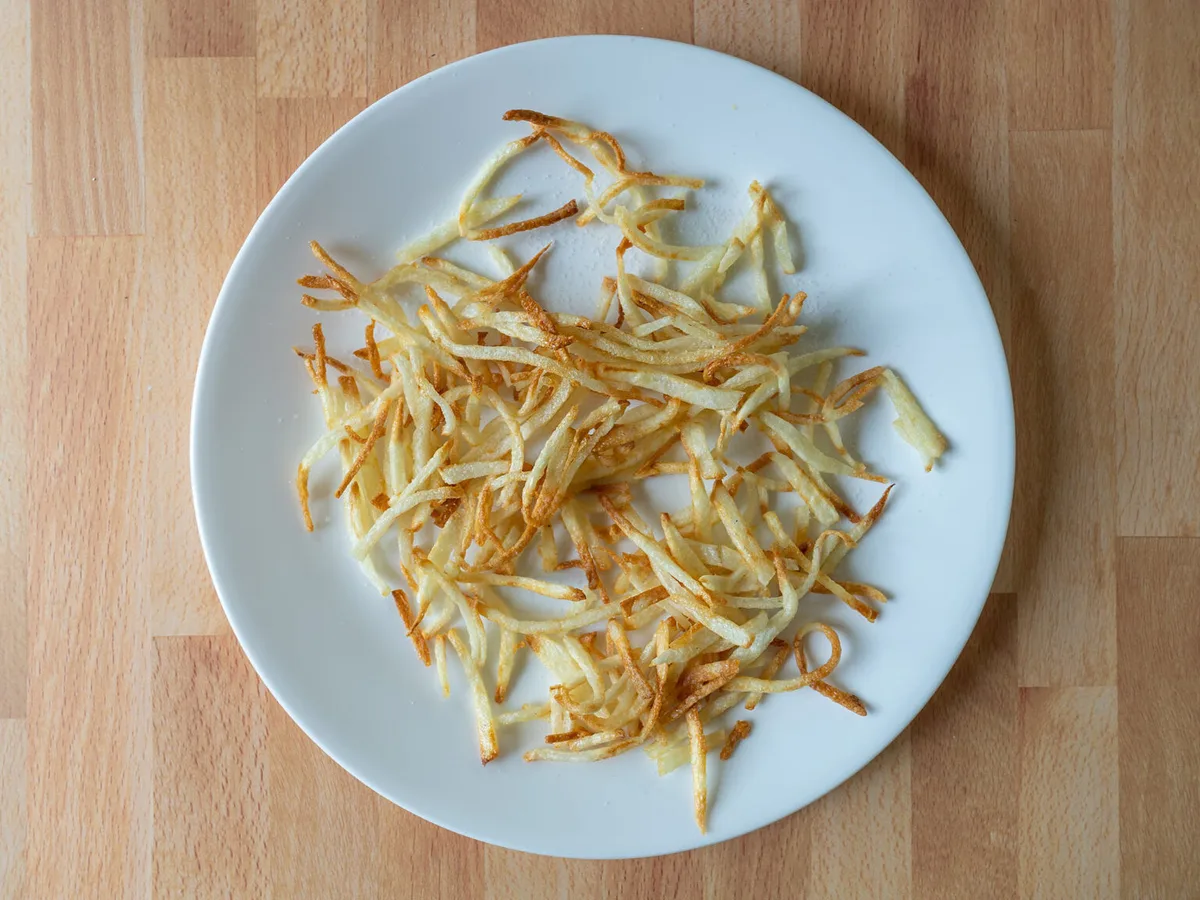
Image source: Web (Bing) / airfry.guide (Web image (fair-use with source credit))
Every time you set out to make fries, you’re making a series of small choices that directly change how long the basket needs to run. Ignore them and you’re cooking blind. Control them and the timer becomes predictable.
Cut Thickness (Shoestring, Standard, Steak Fries, Wedges)
Thinner cuts expose more surface area to hot air. That drives off moisture faster and browns the outside before the center turns to mush. A ¼-inch shoestring fry can crisp up in under 12 minutes.
A ½-inch steak fry with a fluffy interior needs more time to cook through, so you drop the temperature slightly and extend the cook window to avoid burning the exterior. The shape also matters. Wedges trap more mass near the skin side and often benefit from a lower temp and a second toss.
Potato Variety (High-Starch Russets vs. Waxy Golds vs. Sweet Potatoes)
Russets are the gold standard. Their high starch and low moisture give you that airy inside with a robust crust. Waxy varieties like Yukon Golds hold their shape but brown less and stay creamier, so they can take a minute longer and never get quite as shatteringly crisp.
Sweet potatoes are a different category entirely. Their natural sugars caramelize fast and can turn bitter or blackened if you run them at standard Russet temperatures. They demand their own lower heat, which we’ll break out in a dedicated section.
Surface Moisture and Your Soak-Dry Regimen
Wet potato surfaces steam before they fry. That steam softens the crust you’re trying to build. Soaking raw cut potatoes in cold water pulls excess starch off the surface, which reduces that gummy, stuck-together texture.
A quick 30-minute soak is the minimum effective window. Rinsing until the water runs clear and then drying every piece thoroughly with a lint-free towel changes everything. If you’re tempted to use a parchment liner to reduce sticking after soaking, make sure it’s rated for your model.
We’ve examined whether liners are safe to use and how they affect airflow in a separate deep dive.
Airflow: Single-Layer Loading and Basket Capacity
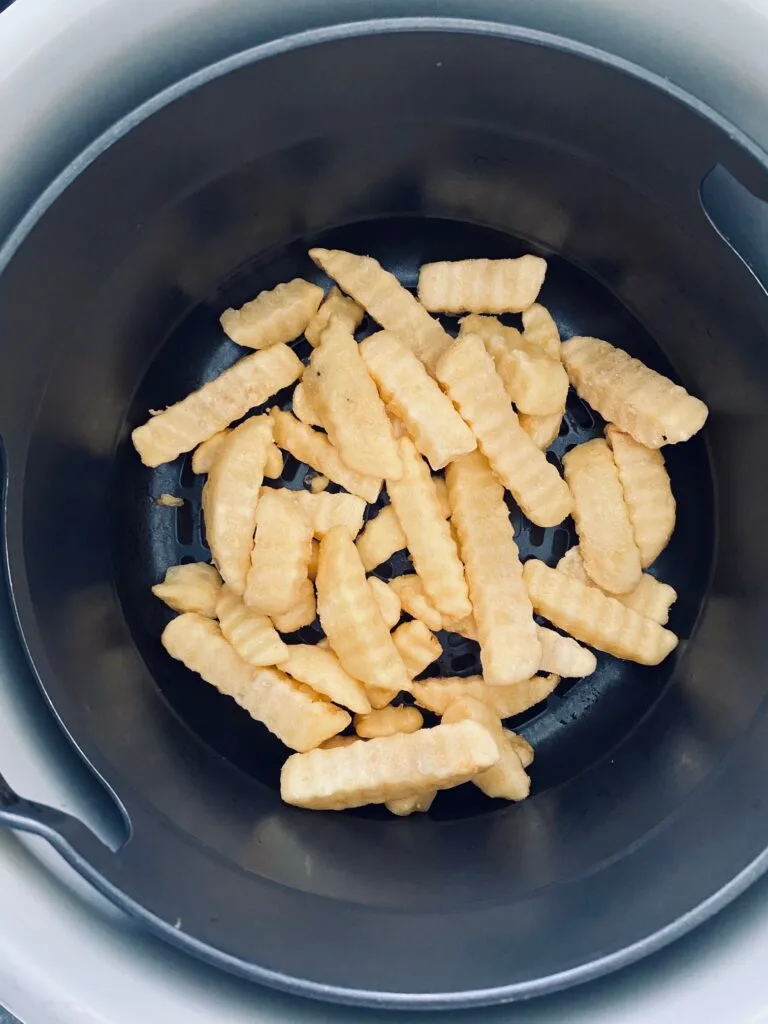
Air fryers are tiny convection ovens. They rely on air whipping around each fry. Pile them in and you get a steamed middle layer with pale, leathery skins.
A single layer with visible gaps between pieces is the only way to get an all-over golden crust. That means a standard 4-quart basket generally maxes out around one pound of raw potatoes per batch. Large families often face batch-cooking headaches, and we’ve covered workflow strategies on the AirFryNest blog.
Our editorial team’s approach to fact-checking manufacturer guidelines ensures we only recommend practices that won’t damage your appliance.
The Non-Negotiable Pre-Cook Workflow: Soak, Dry, Oil, Preheat
Skip any of these four steps and you’ve already added minutes of guesswork, or worse, doomed your batch to soggy edges. Here’s the sequence that turns raw spuds into something worth pulling out the ketchup.
Cut your potatoes into uniform sticks. Uniformity isn’t about looks. It’s about making sure every piece finishes in the same window.
A ⅜-inch cut is the sweet spot for most home air fryers. Drop the cut potatoes into a bowl of cold water. Let them sit for at least 30 minutes.
For food safety, the USDA recommends refrigerating the bowl if you soak cut potatoes longer than two hours. Drain, rinse, and keep rinsing until the water loses its milky haze. Iowa State University Extension notes that even a 30-minute cold-water soak pulls enough surface starch to noticeably improve crispness.
Dry with intention. Spread the rinsed sticks on a clean kitchen towel, lay another towel on top, and press. Any clinging moisture is a crispness thief.
Transfer the dry potatoes to a bowl and toss with one to two teaspoons of oil per medium potato. Use an oil with a high smoke point, like avocado or light olive oil. Toss until every fry has a whisper-thin sheen.
Preheat the air fryer to your target temperature, usually 380°F for standard cuts, while you finish tossing. A preheated basket sears the outside on contact. Loading cold potatoes into a cold basket is how you end up with limp, oil-logged fries.
The Cut-by-Cut Time and Temperature Blueprint
Once the potatoes are prepped, the timer becomes a simple lookup. The following table gives you a repeatable starting point for a preheated basket air fryer with fries arranged in a single layer. Always shake or toss halfway through.
| Cut Style | Thickness | Temperature | Total Cook Time |
|---|---|---|---|
| Shoestring | ¼ inch | 380°F | 10–12 minutes |
| Standard | ⅜ inch | 380°F | 15–18 minutes |
| Steak Fries | ½ inch | 360–380°F | 18–22 minutes |
| Wedges | ½ inch (tapered) | 360°F | 20–25 minutes |
Check for doneness a minute or two early if your particular model runs hot. Look for a deep golden colour and edges that lift slightly off the basket. Those cues mean the surface starch has set and the interior is tender.
When You’re Working With Sweet Potato Fries
Sweet potatoes demand their own playbook. Their lower starch and higher sugar content cause them to burn at the temperatures that make Russets glorious. Drop the heat to 350°F and plan on a 12- to 16-minute window.
They won’t achieve the same shatter-crisp shell, so aim for a blistered, caramelised exterior instead. Toss them in a little cornstarch with the oil to give the surface a helping hand.
Because sweet potatoes spit more moisture as they cook, avoid the temptation to crowd the basket even more fiercely. If anything, leave extra gaps so steam can escape. One batch at a time pays off.
This is one of those topics where simple adjustments prevent a tray of bitter, nearly burnt sticks. That’s the same kind of practical nuance we explore across our air fryer recipe collection when moving beyond standard potato fries.
The Halfway Shake, the Visual Cues, and the Final Crisp Check
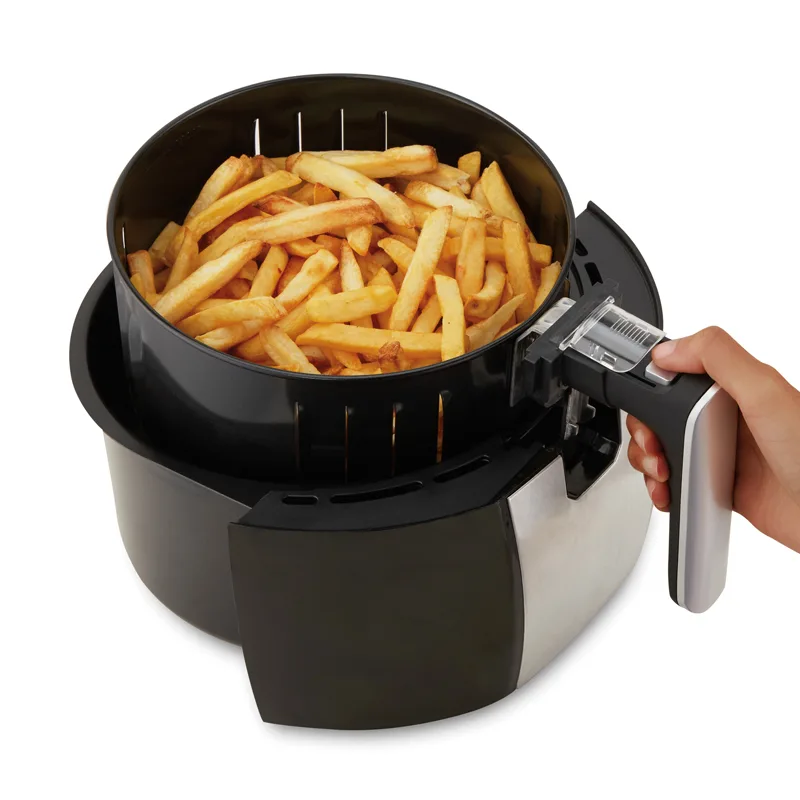
Image source: Web (Bing) / hamiltonbeach.ca (Web image (fair-use with source credit))
When the timer hits the halfway mark, pull the basket. Give it a purposeful shake so every fry tumbles and lands in a new spot. This redistributes hot air access and stops the bottom layer from steaming while the top layer browns.
For wedges, a quick flip with tongs works better than a shake.
Don’t rely on the clock alone. Visual and auditory cues tell you when to stop. Golden brown color with slight edge lift means the starch has set and the interior is tender.
A quieter sizzle signals less surface moisture. Pluck the thickest fry. It should feel rigid, not limp, and the cut surface should show no raw white core.
If the outside looks perfect but the inside resists, lower the temperature 10 degrees and add two more minutes. That gentler finish preserves the crust while cooking through.
5 Fries-Ruining Mistakes (and How You’ll Sidestep Them)
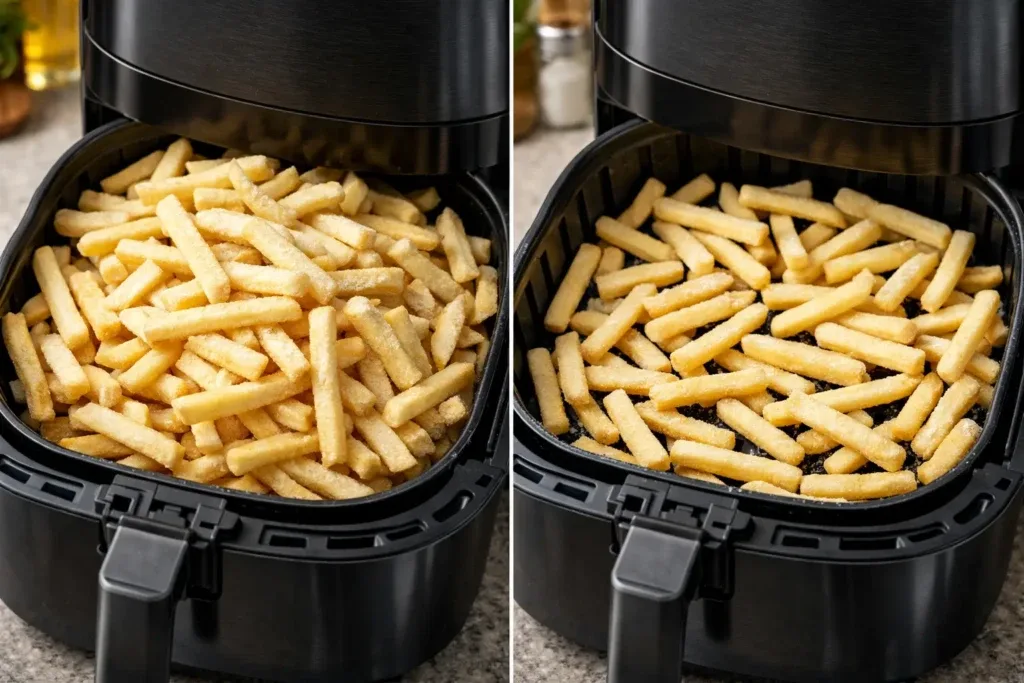
Image source: Web (Bing) / quickfryerrecipes.com (Web image (fair-use with source credit))
Small missteps compound fast. Here are the five most common ones and how to avoid them outright.
Skipping the soak. Unsoaked raw potatoes leave excess surface starch that glues fries together and blocks crispness. A 30-minute cold water bath fixes that. Rinse until the water runs clear.
Overcrowding the basket. A stuffed basket creates a steamed, pale mess. One pound of fries per 4 to 5 quarts of capacity keeps air flowing. Do multiple small batches instead of one dense load.
Cooking wet fries. Moisture turns to steam instantly, softening the crust. Dry every stick thoroughly after soaking and rinsing. Any damp patches sabotage texture.
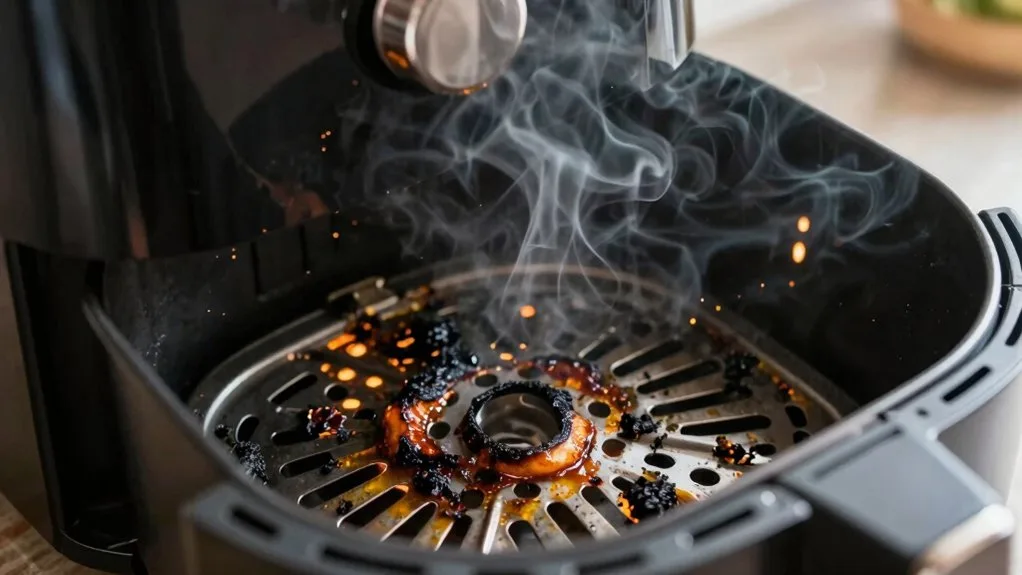
Using oil with a low smoke point. Extra-virgin olive oil smokes at low temperatures, filling the kitchen with acrid fumes. Stick with avocado oil or light olive oil that handle 400°F and above.
Skipping the preheat. A cold basket delays the sear and yields uneven doneness. Always preheat for three to five minutes before loading. This small habit produces consistent results every time.
How to Handle Large Batches Without Steaming Your Fries
Batch cooking isn’t optional when feeding a crowd, but it does create a problem. The first batch cools while the second batch cooks. Piling cooked fries into a bowl and covering them is a recipe for steam and limp skins.
Keep the first batch crisp by spreading it on a wire rack set over a baking sheet in a 200°F oven. The low heat holds the fries without cooking them further. Leave the rack uncovered so steam escapes.
When the final batch finishes, combine everything and serve immediately. If you’re in a real time crunch, cut all the potatoes at once and keep the unsoaked raw sticks submerged in cold water. Drain and dry only the batch you’re about to cook.
That way the second round is prepped but doesn’t go grey.
More workflow strategies for getting the most out of your appliance live over on the AirFryNest blog, where we share techniques that fit your schedule rather than the other way around.
A 3-Question Decision Tree to Lock In Your Time Instantly
When you’re standing at the counter with a knife in hand, use this quick three-question path. It’ll get you a correct time and temperature faster than scrolling a recipe.
1. What’s the cut thickness?
- ¼ inch → shoestring → 10 to 12 minutes
- ⅜ inch → standard → 15 to 18 minutes
- ½ inch or wedge → 18 to 25 minutes
2. What potato variety are you using?
- Russet (high starch) → use temperatures as stated
- Yukon Gold (waxy) → add 1 to 2 minutes, expect a creamier texture
- Sweet potato → drop to 350°F, cut cook time to 12 to 16 minutes
3. Is the basket loaded in a single layer with gaps?
- Yes → proceed with the times above
- No → remove fries until there’s visible breathing room. A second batch is the only way to get crisp results.
If the answer to question three is no, don’t bother running the air fryer yet. Every minute you spend fixing the load before you hit start saves you from a disappointing tray later.
Quick-Reference Workflow Cheat Sheet
Bookmark this sequence. It’s the repeatable path from raw potato to crisp fry.
- Cut uniform sticks, ⅜ inch for all-purpose crispness.
- Soak in cold water 30 minutes minimum. Rinse until water runs clear.
- Dry completely with a towel. No visible moisture.
- Toss with 1 to 2 teaspoons high-smoke-point oil per medium potato.
- Preheat air fryer to 380°F (350°F for sweet potatoes).
- Arrange in a single layer with gaps. Work in batches if needed.
- Cook for the cut-appropriate time from the blueprint table.
- Shake or flip at the halfway mark.
- Check doneness by color, edge lift, and firmness.
- Serve immediately or hold on a wire rack in a 200°F oven.
For more appliance-specific insights like vent clearance and liner safety, the AirFryNest guides section covers the details that keep your machine running efficiently.
Frequently Asked Questions
Can I cook homemade fries in an air fryer without oil?
You can, but you’ll sacrifice crispness. A teaspoon or two of oil per potato helps conduct heat and encourages browning. Without any fat, fries come out dry and pale.
A light oil coat is the smallest effort for the biggest texture payoff.
Why are my air fryer fries soggy?
Sogginess almost always traces back to three things. Too much surface moisture before cooking, overcrowding the basket, or skipping the halfway shake. Dry thoroughly, leave gaps between fries, and toss at the midpoint.
Do I need to preheat my air fryer for fries?
Yes. A preheated basket sears the outside instantly. Loading into a cold air fryer extends cook time and leaves you with unevenly done fries.
Three to five minutes of preheat while you finish prep is all it takes.
How do I stop fries from sticking to the basket?
Dry the potatoes well. Toss in enough oil to create a thin film. Once the fries start to brown and release, they’ll lift naturally when you shake.
If you use a parchment liner, check the manufacturer’s guidance on whether liners are safe for your model. Some liners restrict airflow and affect crispness.
Can I cook sweet potato fries and regular potato fries together?
It’s not a great idea. Sweet potatoes burn at Russet temperatures. They also release more moisture, which can steam the regular fries.
Cook them separately at their respective times and temperatures for the best results from both.
How do I reheat leftover homemade fries in the air fryer?
Set the air fryer to 350°F. Spread the cold fries in a single layer. Heat for 3 to 5 minutes, shaking once.
They won’t match fresh-out-of-the-basket crispness, but they’ll come close. Avoid the microwave unless you enjoy leathery spuds.