You can cook a pot roast in an air fryer. But the answer isn’t a simple yes or no. It depends on whether your machine holds a steady low temperature and whether your roast fits inside a covered pan.
Get those two things right, and you’ll pull a fork‑tender roast out of a countertop appliance.
A classic pot roast braises for three to four hours at 275°F to 300°F. That low heat melts the collagen in a tough chuck roast. As of 2026, many air fryers struggle to hold that range for more than 60 minutes at a stretch.
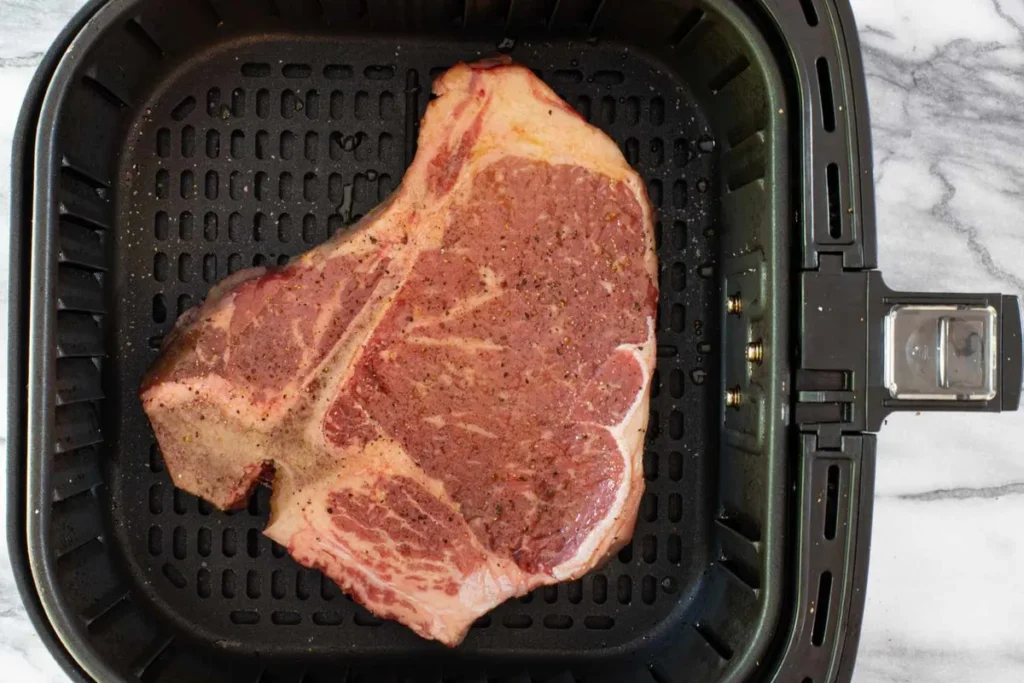
If you’ve already experimented with cooking beef in your air fryer, you know the appliance can handle steaks and burgers beautifully. A pot roast is a different challenge. We used manufacturer specs and USDA food safety guidelines to map out exactly when an air fryer works and when it doesn’t.
Guide to Can You Cook a Pot Roast in an Air Fryer
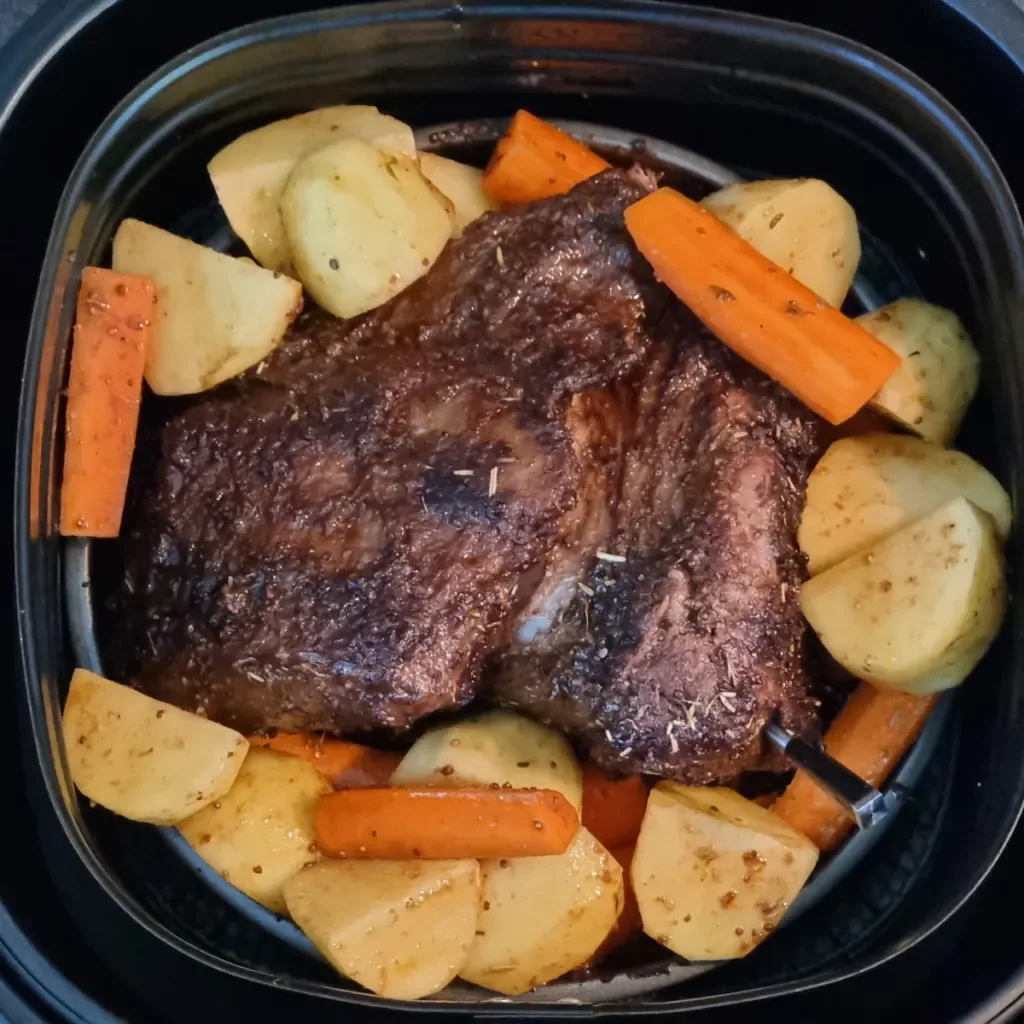
Can You Cook a Pot Roast in an Air Fryer? The Short, Conditional Answer
Yes, you can cook a pot roast in an air fryer. Use a small chuck roast and a tight foil cover. Set the appliance to 300°F.
Braise for roughly three hours. Check that the meat hits 200°F before serving.
But this only works if your air fryer passes two gate checks. If it doesn’t, you’ll end up with dry, tough beef. Oven‑style air fryers mimic a convection oven and make pot roast almost routine.
Basket‑style models create a cramped, high‑blast cooking environment that forces you to seal everything inside a foil packet. Either way, you’re not simply throwing a roast in and pressing “start.” You manage fit, temperature, and moisture. The USDA minimum safe temperature for beef is 145°F, but a pot roast climbs far past that to turn collagen into gelatin.
That collagen breakdown demands sustained gentle heat, and that’s where most air fryers get tested.
If your model can hold 275°F to 300°F for hours without shutting off, you have a path. If not, you’re better off with a slow cooker or a Dutch oven. The sections ahead walk you through every condition, step, and mistake so you know before you preheat whether this pot roast idea is a winner or a waste of a good chuck.
Gate Check #1: Will Your Roast and Pan Actually Fit Inside?
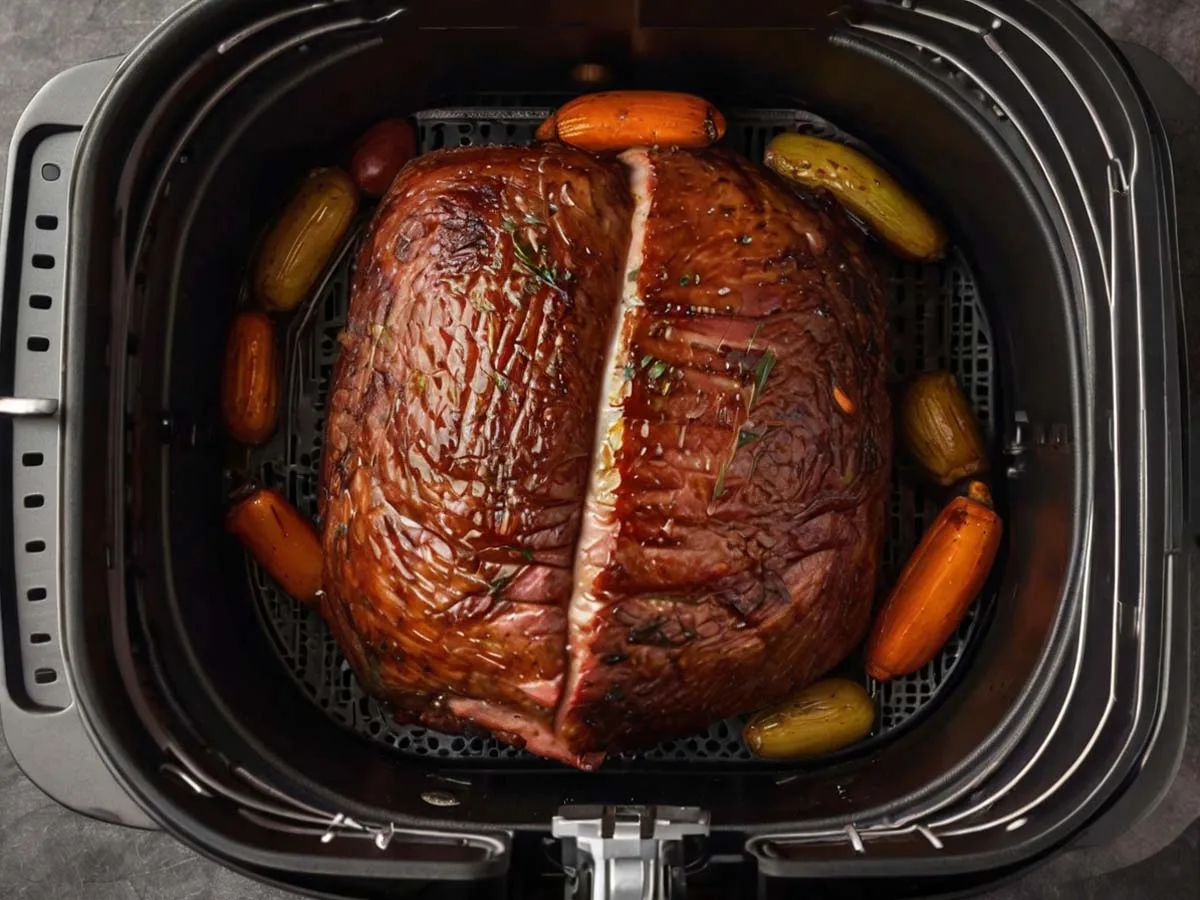
The first thing that kills an air fryer pot roast is simple. The roast doesn’t fit. Basket‑style air fryers often look spacious until you try to slide a 4‑pound chuck roast inside and close the drawer.
Oven‑style models give you more room, but you still need a pan that clears the heating elements and leaves space for air to circulate.
Measuring Your Air Fryer’s Real Estate
Don’t guess. Measure the usable cooking area, not the outside dimensions. For a basket model, measure the bottom of the basket, then subtract an inch all around.
You need that gap for hot air to move. For an oven‑style air fryer, measure the rack depth and width, then check the clearance to the top heating element. Your pan and its foil cover can’t touch that element.
Write down those numbers. A covered roasting pan or a small cake pan must fit without touching the sides. If your basket is 8 inches wide, your pan needs to be no wider than 7 inches.
That single measurement tells you the maximum roast size you can work with.
Downsizing to a 2–3 lb Chuck Roast and Choosing the Right Pan
Most full‑sized chuck roasts weigh 3.5 to 5 pounds. They’re too big for almost every basket air fryer and many oven‑style ones. You’ll need to shop for a 2 to 3 pound roast or ask a butcher to cut a smaller portion.
A 2‑pounder often fits inside a 5.5‑quart basket in a foil packet. A 3‑pounder works in a 6‑quart basket if you use a small round cake pan.
Here’s how common air fryer types stack up for pot roast capacity:
| Air Fryer Style | Typical Capacity | Roast Size That Fits | Pan Suggestion |
|---|---|---|---|
| Small basket (3–4 qt) | Up to 4 cups food | 1.5–2 lb roast | Foil wrap only |
| Medium basket (5.5–6 qt) | Fits a 3‑lb chicken | 2–2.5 lb roast | 6‑inch round pan or foil |
| Large basket (8–10 qt) | Two racks possible | 2.5–3 lb roast | 8‑inch square pan |
| Oven‑style (12–26 qt) | Fits 9×13 pan | 3–4 lb roast | 9×13 or small roasting pan |
For a perfect batch of homemade fries, the small basket is plenty. A pot roast needs a completely different scale. If your roast doesn’t fit, don’t force it.
A crammed air fryer traps steam unevenly and burns the outside long before the inside breaks down.
Gate Check #2: Can Your Air Fryer Maintain a Gentle Braising Temperature?
Fit is one problem. The second is whether your air fryer can hold a low, steady temperature for three hours or more. A pot roast isn’t about crisping.
It’s about slow collagen breakdown.
Why 275°F–300°F Is the Make‑or‑Break Range
Collagen starts to dissolve around 160°F, but real pull‑apart tenderness happens when the meat stays between 200°F and 210°F for a sustained stretch. That requires an oven temperature of 275°F to 300°F. At 325°F or higher, the outside dries out and the inside stays tight.
University extension research on braising explains that tough cuts need long exposure to moderate heat. Your air fryer must be able to hold steady at that range. Not all of them can.
Check your air fryer’s preset modes. If it has a “Bake” or “Roast” setting that defaults to 300°F or lower, you’re in good shape. If the lowest temperature is 350°F, you have a problem.
Some models let you manually override down to 250°F or 275°F. Others bottom out at 350°F and refuse to go lower. In that case, you can’t braise.
Dealing With Auto‑Shutoff Timers and Short Cycles
Even if the temperature setting works, the timer can sabotage you. Many air fryers max out at 60 minutes per cycle. You’ll need to reset the timer three or four times during a single roast.
That’s annoying but manageable. The bigger risk is an air fryer that automatically cools down or shuts off after a few cycles to protect the thermal fuse. Some units overheat after two consecutive hours at high heat.
Manufacturer guides often recommend a cooldown period after extended use.
If your model tends to shut off during long cooks, pot roast is a gamble. Every time it stops, the internal temperature drops, and the collagen tightening starts to reverse. You’ll chew on meat that was almost tender but seized back up.
Run a test with an empty pan first. Set it to 300°F, start the timer for 60 minutes, then reset immediately for another 60. See if it keeps going.
Knowing this quirk separates a brilliant air fryer pot roast from a ruined dinner.
And if you’re after a quicker win, air fryer smash burgers play to the machine’s strengths: fast, hot, and crispy. Pot roast demands the opposite skill set from your appliance.
Basket vs. Oven‑Style Air Fryers: Your Roadmap Splits Right Here
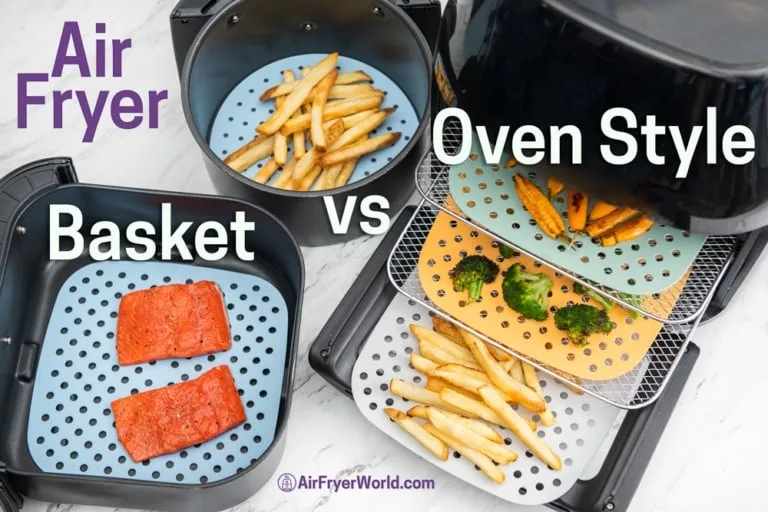
Once you’ve confirmed your roast fits and your air fryer can handle the heat, your exact approach splits into two paths. The appliance type dictates everything about how you cover the meat, how you add vegetables, and how long it takes.
If You Have a Basket‑Style Air Fryer: The Small Roast, Full Foil‑Cover Workaround
A basket air fryer pushes hot air down from a coil directly above the food. That intense convection will blast the surface of your roast if it’s not fully sealed. A lidded pan might not fit.
So the workaround is heavy‑duty aluminum foil.
Wrap a 2 to 2.5 pound chuck roast tightly with seasonings and a splash of braising liquid. Create a snug packet with no gaps. Place it in the basket, seam side up.
The foil blocks the direct fan blast and traps steam. It also shields the roast from the heating element so the top doesn’t burn. Check the packet at the two‑hour mark.
Add more liquid if needed. The downside? You can’t see the roast or check doneness without opening the foil and losing steam.
Also, vegetables cook separately because the packet is too small for everything.
This method works. It’s just more delicate. Aggressive flipping can tear the foil.
A probe thermometer left inside the packet through a small foil fold gives you internal temperature without unwrapping. That’s the basket‑style pot roast hack in a nutshell.
If You Have an Oven‑Style Air Fryer: Nearly Identical to a Convection Oven Braise
Oven‑style air fryers with a rack and a heating element up top act like a miniature convection oven. You slide a roasting pan or a 9×13 dish right onto the rack. You cover it with a lid or foil.
The fan circulates heat around the pan, not blasting directly onto the meat.
You get a few advantages. First, you can fit a larger roast, often up to 3.5 pounds. Second, you can add carrots, onions, and potatoes into the same pan from the start.
Third, you can monitor through the glass door. The cook time stays about the same, 3 to 3.5 hours at 300°F, but the process feels familiar. No foil packet engineering needed.
With this setup, you’re just braising in a small space. Check the liquid level once during cooking. If the pan seems dry, add half a cup of beef broth.
That’s all the babysitting an oven‑style air fryer pot roast requires.
How to Cook Pot Roast in an Air Fryer — The Step‑by‑Step Process
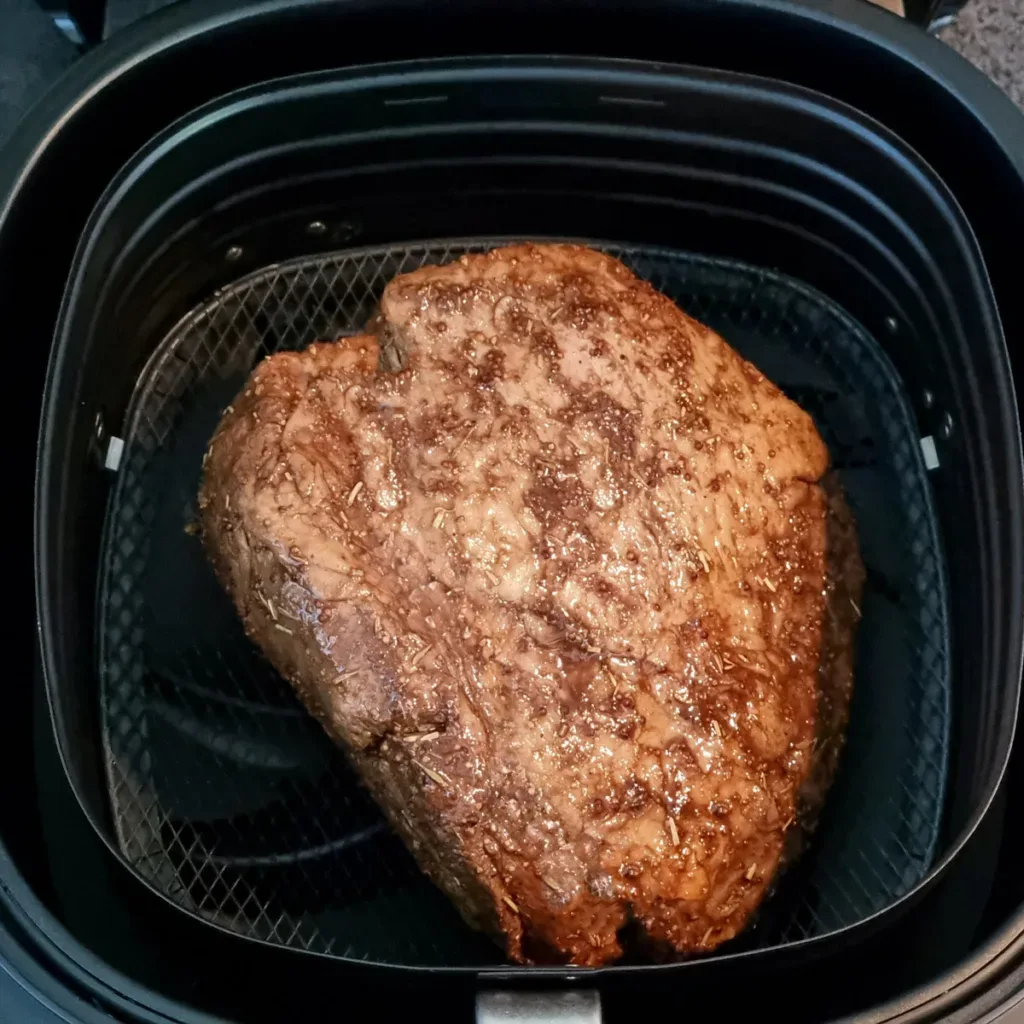
With your gate checks passed and your appliance path chosen, the actual cook follows a seven‑step sequence. These steps work for both basket and oven‑style models. Just adapt the covering method as described above.
Step 1: Choose a Well‑Marbled Chuck Roast (and Give It a Trim)
Chuck is the only cut worth your time here. Look for a 2 to 3 pound piece with streaks of white fat running through the meat. Those fat lines render into richness over hours.
If you pick a lean round roast or an eye of round, it will dry out before it ever gets tender. Trim any thick external fat caps down to a quarter inch. Too much melted fat inside a small air fryer pan can smoke.
Getting beef right in a compact chamber always starts with the right cut.
Step 2: Sear for Deep Flavour — Stovetop or Air Fryer Max‑Heat Burst
Pot roast needs a dark crust before braising. The easiest route is a cast‑iron skillet on the stovetop. Season the roast with salt and pepper, then sear on all sides until deeply brown.
If you want to stay entirely within the air fryer, crank it to 400°F. Sear the roast for 4 to 5 minutes per side in a preheated basket or on a rack. The air fryer method works, but the crust won’t be quite as even as a pan.
Deglaze the pan or basket with a splash of broth and scrape up the browned bits. Those bits hold half the flavour.
Step 3: Build a Big‑Flavour Braising Liquid
A dry air fryer pan turns into a burnt mess. Pour about a cup of liquid into the roasting pan or foil packet. Beef broth, a splash of red wine, a tablespoon of tomato paste, and a few sprigs of fresh thyme create a classic braising base.
Don’t drown the roast. The liquid should come no more than a third of the way up the meat. Too much liquid and you’ll steam‑boil the beef instead of braising it.
Step 4: Cover Tight‑Tight — No Steam Escapes, No Burnt Drips
This is the step where basket and oven paths diverge. In a basket air fryer, wrap the roast and liquid in a double layer of heavy‑duty foil. Fold the seams over twice and pinch them shut.
Place the packet seam‑side up. In an oven‑style air fryer, use a lidded pan or tightly crimp foil over the pan. The goal is the same: trap every bit of moisture.
If steam hisses out, the liquid evaporates in half an hour and the roast burns at the bottom.
Step 5: Braise Low and Slow Until the Meat Hits Pull‑Apart Territory
Set the air fryer to 300°F. Slide the pan or packet in. Set a timer for 2 hours and 15 minutes.
After that point, start probing. A leave‑in probe thermometer threaded through a small foil opening is your best friend. The meat is done when it reaches 200°F to 210°F internally and a fork twists with almost no resistance.
For a 2.5‑pound roast, that usually takes 2.5 to 3.5 hours. Reset the timer as needed. Every time you open the air fryer, you lose heat, so resist peeking until at least the 2‑hour mark.
Step 6: Add Vegetables at the Right Moment So They Don’t Turn to Mush
If you’re using an oven‑style model with a larger pan, add carrot chunks, halved baby potatoes, and onion wedges during the last 45 minutes. Anything added at the start will dissolve into mush. For a foil‑packet basket method, cook vegetables separately.
Toss them with oil and salt, then roast in the air fryer at 375°F for 15 to 20 minutes while the pot roast rests. They’ll be crisp‑tender and far better than steamed mush.
Step 7: Uncover, Finish the Bark, and Rest
Once the roast hits 200°F, carefully open the foil or lid away from your face. The steam will be fierce. Lift the roast onto a board.
If the exterior looks pale and wet, give it a 5‑minute blast at 400°F uncovered to set a slight bark. Then tent the meat loosely with foil and let it rest for 15 minutes. During that rest, pour the braising liquid into a small saucepan, skim the fat, and simmer it into a quick sauce.
Slice the roast against the grain or pull it apart with forks. Spoon that concentrated juice over the top and serve.
Air Fryer Pot Roast Timing and Temperature Benchmarks
Use these numbers as a starting point. Check doneness by feel, not just the clock.
| Roast Size | Air Fryer Temp | Approx. Time Covered | Target Internal Temp |
|---|---|---|---|
| 2 lb chuck | 300°F | 2.5–3 hrs | 200°F–210°F |
| 2.5 lb chuck | 300°F | 3–3.5 hrs | 200°F–210°F |
| 3 lb chuck (oven‑style only) | 300°F | 3.5–4 hrs | 200°F–210°F |
Meat rises 5°F to 10°F during the rest. Pull it when a fork meets little resistance. A long braise at 300°F melts collagen without drying out the roast.
Higher temperatures rush the process and toughen the exterior. University extension research confirms that gradual heat transforms tough cuts.
The 5 Most Common Mistakes That Turn Air Fryer Pot Roast into a Dry Brick
- Using a lean cut. Round or sirloin won’t break down. Stick to chuck.
- Cooking uncovered. The fan desiccates the surface. A tight foil or lid seal is non‑negotiable.
- Blasting at 350°F or higher. Collagen seizes, moisture evaporates, and the roast dries out before the centre softens.
- Skipping the gate‑check fit. A crammed roast steams unevenly and cooks lopsided.
- Ignoring the timer limit. A shutoff mid‑cook drops temperature. Reset the cycle immediately.
How Air Fryer Pot Roast Actually Compares to Slow Cooker, Oven, and Pressure Cooker
| Method | Texture | Time | Liquid Loss |
|---|---|---|---|
| Air fryer (covered) | Fork‑tender, light bark | 2.5–4 hrs | Low if sealed |
| Slow cooker | Very soft, less bark | 6–8 hrs | High, needs more liquid |
| Dutch oven in standard oven | Best crust, fall‑apart | 3–4 hrs | Low |
| Pressure cooker (Instant Pot) | Tender but can be dry if rushed | 60–90 min | Very low |
The air fryer pot roast lands closer to an oven braise than a slow cooker. It builds more flavour than a pressure cooker version. The trade‑off is a smaller roast.
Safety Notes: Smoke, Grease Drips, Steam Burns, and Not Overheating the Appliance
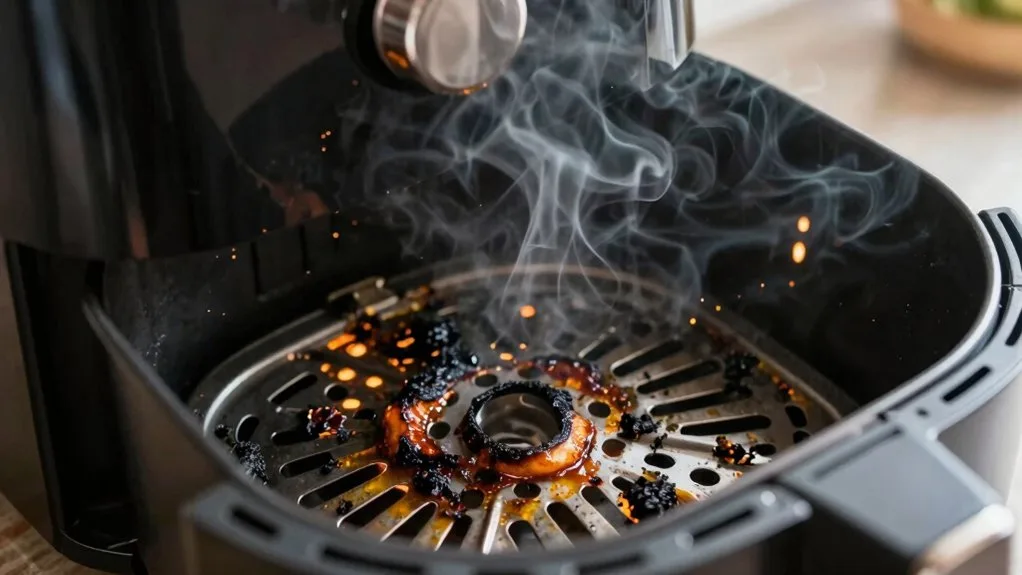
- Grease smoke. Render fat can drip onto the heating element. Keep the roast covered and the pan elevated on a trivet. Add a little water to the bottom tray if smoking starts.
- Steam burns. Open foil or lids away from your face. The blast is intense.
- Continuous runtime. Check your manual’s maximum duty cycle. Give the unit a 10‑minute rest between multi‑hour cooks if the casing feels hot.
- Don’t block vents. Leave free space around the pan. Overheating can trip the thermal fuse.
The Final Decision Guide: When Air Fryer Pot Roast Is Brilliant — and When You Should Walk Away
Make pot roast in your air fryer when:
- You need a small roast for one or two people.
- You don’t want to heat up the big oven.
- You own an oven‑style air fryer with a low‑temperature bake function.
- You have a basket model and are willing to wrap tightly in foil.
Skip the air fryer and use a slow cooker or oven when:
- You need a roast larger than 3 pounds.
- Your air fryer can’t sustain 300°F reliably.
- You prefer set‑and‑forget cooking with no resets.
Frequently Asked Questions
Can you cook a frozen pot roast in an air fryer?
No. A frozen roast can’t be seared, and the interior will still be tough when the outside is overcooked. Thaw completely in the fridge first.
Do you need to sear the roast before air frying?
Yes. Searing builds the deep, savoury crust that defines a good pot roast. A stovetop skillet gives the most even browning.
An air fryer sear at 400°F works if a pan isn’t available.
What’s the best cut for air fryer pot roast?
Chuck roast with visible marbling. Blade roast is a close second. Avoid round, sirloin, or brisket flat.
Brisket needs even longer cooking and often dries out in an air fryer’s compact space.
How do you keep pot roast from drying out in an air fryer?
Cover it tightly with heavy‑duty foil or a lid. Keep the temperature at 300°F or below. Check the liquid level after two hours and add broth if needed.
Can you use an air fryer lid on an Instant Pot for pot roast?
Yes, if you have a multicooker with an air fryer lid. Use the bake or roast function at 300°F. Place the meat in the inner pot, cover tightly, and follow the same timing benchmarks.