If you’ve been searching how long to cook smash burgers in air fryer, you’re probably after two things: crispy lacy edges and a patty that’s safe to eat. But the honest answer isn’t a single number you can set your timer to every time. Air fryers behave differently, patty thickness varies, and a tiny change in either can shift your finish line by a full minute or more.
The one number that never changes is 160°F. That’s the internal temperature the USDA requires for ground beef safety, and it’s the anchor every timing estimate is built around. So before we talk minutes, we’ll talk safe doneness first, then walk through exactly how to hit it consistently in your air fryer.
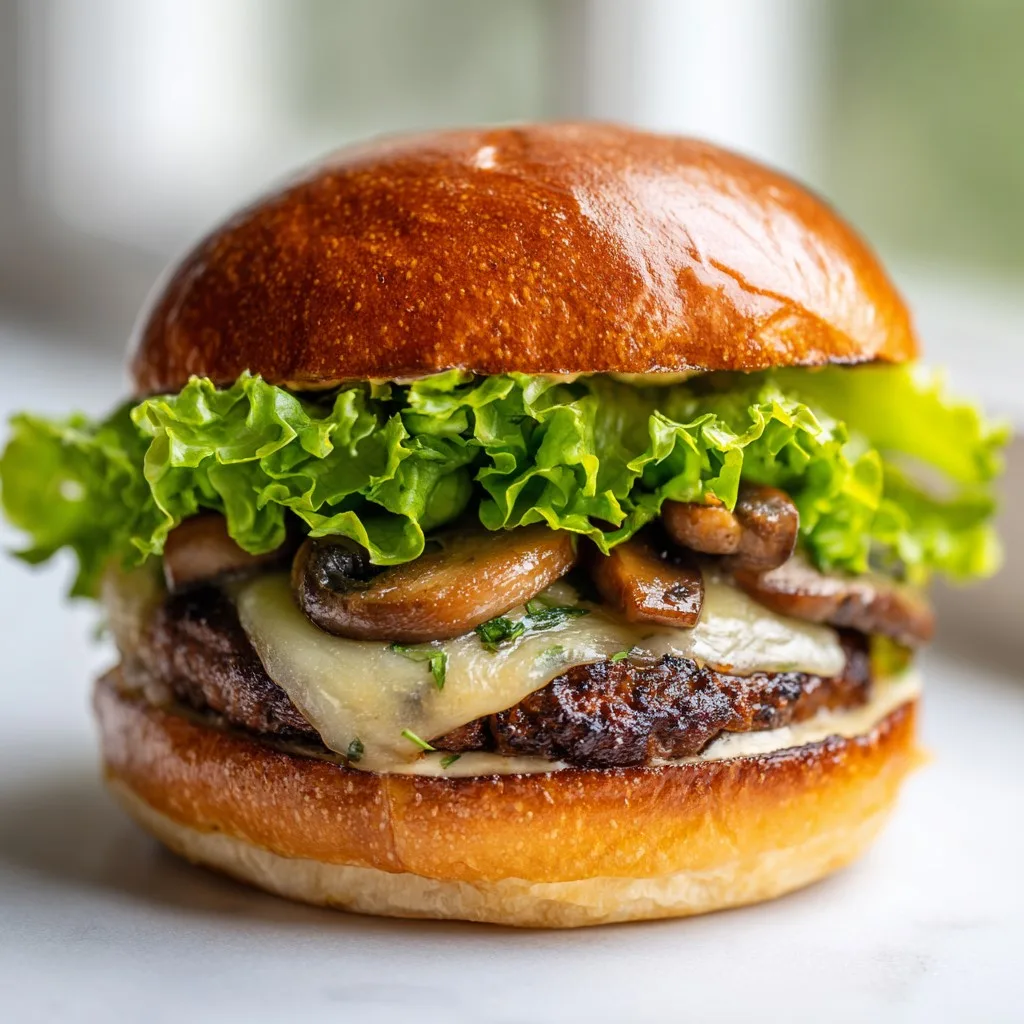
Image source: Web (Bing) / theboatshedcafe.com (Web image (fair-use with source credit))
Quick Answer
Smash burgers in an air fryer typically take 7 to 10 minutes at 400°F. Flip them halfway through. Always check that the centre reaches 160°F.
Thin 2 oz patties cook faster. Thicker 4 oz patties need the full 10 minutes. Use an instant-read thermometer, never eyeball colour alone.
Safety First: The 160°F Non-Negotiable You Can’t Skip
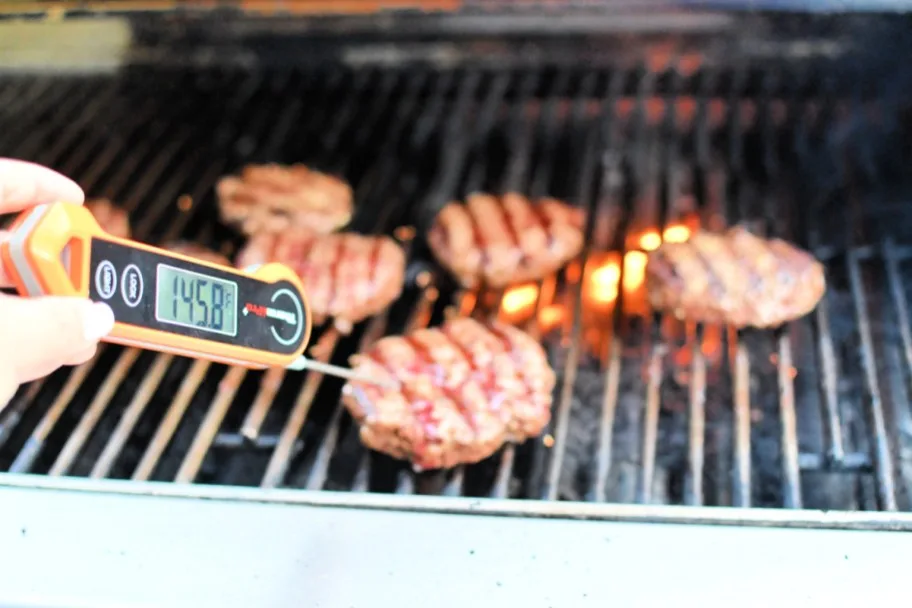
The United States Department of Agriculture (USDA) has one clear rule for ground beef: it must reach an internal temperature of 160°F (71°C) before you pull it from the heat, per USDA guidelines. Not 155°F. Not “mostly done.” 160°F.
This isn’t a preference, it’s a food safety floor designed to destroy bacteria like E. coli that can live inside ground meat.
Relying on cook time alone is a gamble. A thin smash burger can look perfectly browned on the outside while the centre sits at 135°F. Colour is not a reliable doneness indicator.
Juices running clear are not a reliable indicator. The only tool that gives you certainty is a digital instant-read thermometer inserted horizontally into the edge of the patty until the probe hits the centre. In a patty that’s often no thicker than a pencil, that reading takes two seconds and it’s the difference between a safe dinner and a preventable illness.
This matters even more with smash burgers because we’re working with such a thin margin. An extra 30 seconds in a 400°F air fryer can push you from 145°F to 160°F, but pulling the basket early because you’re afraid of overcooking can leave the centre well below the safe zone. That’s why we always anchor every recipe to the thermometer, not the clock.
The Missing Variable: Why Your Air Fryer Wattage and Patty Thickness Change Everything
When a recipe says “cook for 8 minutes,” it’s making an assumption about two things you can’t see: how powerful your air fryer is and how thick your patties ended up. A 1700W air fryer moves heat faster than a 1400W model. A patty smashed to a true 1/8 inch will finish in nearly half the time as one that’s closer to 1/4 inch.
Both variables can swing your actual cook time by up to two full minutes.
Preheating also changes the equation. Dropping patties into a cold basket means the first minute or two are spent just getting the air up to temperature. That stretches the clock and steams the surface instead of searing it.
Always preheat your air fryer for at least 3 minutes at 400°F before the burgers go in.
For more detailed appliance-specific tips, check our air fryer guides.
| Patty Weight | Approx. Thickness | Cook Time (1800W air fryer) | Cook Time (1400-1500W air fryer) | Notes |
|---|---|---|---|---|
| 2 oz | 1/8 inch (3 mm) | 6—7 minutes | 7—8 minutes | Very fast cook; check temp at 5 minutes |
| 3 oz | Just under 1/4 inch (5 mm) | 7—9 minutes | 8—10 minutes | Sweet spot for most recipes |
| 4 oz | 1/4 inch (6 mm) | 9—10 minutes | 10—11 minutes | Edges crispier, centre needs longer |
All times assume a preheated air fryer running at 400°F with a flip at the halfway mark. If your model has a lower maximum temperature, say 375°F, add roughly 2 extra minutes to each range and expect a softer crust.
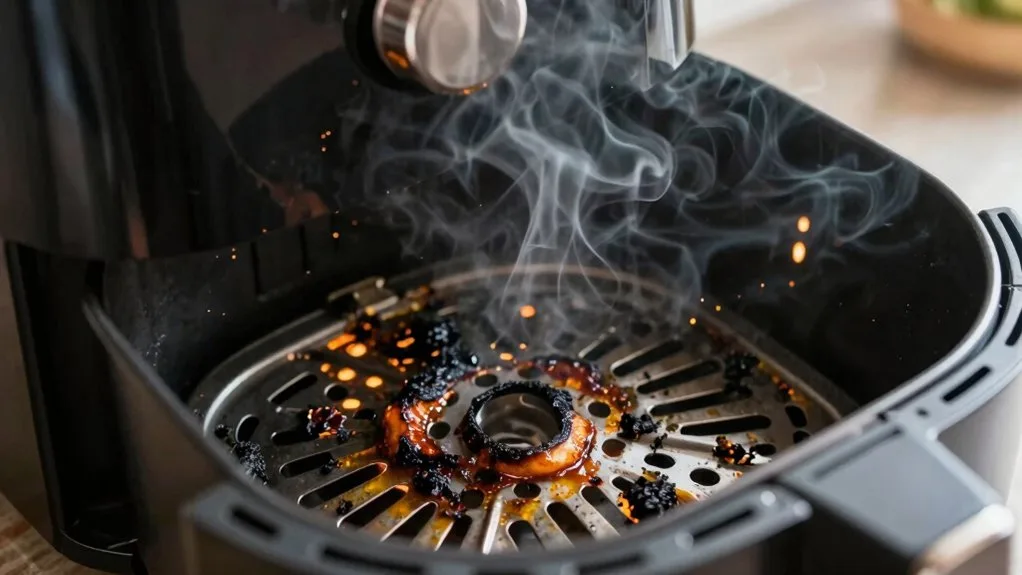
Smoke can also cut your cook short if the heating element starts burning drippings. If your air fryer lives under a cabinet, you risk tripping the smoke alarm. For safe placement and ventilation, we’ve covered whether air fryers can go under cupboards.
What You’ll Need Before You Start
A good outcome starts with the right setup. Most of what you need is already in a standard kitchen, but a few items make the difference between a stuck-on mess and clean, crispy-edged burgers.
For the patties:
- 80/20 ground beef chuck, cold from the fridge (cold fat renders slower and helps edges crisp before the centre overcooks)
- Salt and black pepper (season right before smashing, never mix salt into the raw meat ahead of time or it tightens the texture)
- Cheese slices, optional (American melts best in the last 45 seconds)
- Burger buns, split and ready to toast in the residual heat
Tools you’ll count on:
- Digital instant-read thermometer (the only reliable doneness check)
- Parchment paper sheets (for smashing without sticking)
- Heavy flat-bottomed tool for smashing (a small pan, sturdy spatula, or actual burger press)
- Air fryer basket with a light coating of neutral oil or a perforated parchment liner
- Thin spatula for flipping without tearing the delicate patty
You can use perforated parchment liners to prevent sticking while keeping airflow intact. We’ve looked at whether air fryer liners are safe if you want to pick the right type.
Step-by-Step Smash Burger Air Fryer Method (From Portioning to Temp Check)
-
Portion the beef cold. Pull the ground chuck straight from the fridge and divide it into 3 oz portions. Loosely shape each into a ball. Don’t overwork the meat. Compacted beef turns dense, not tender.
-
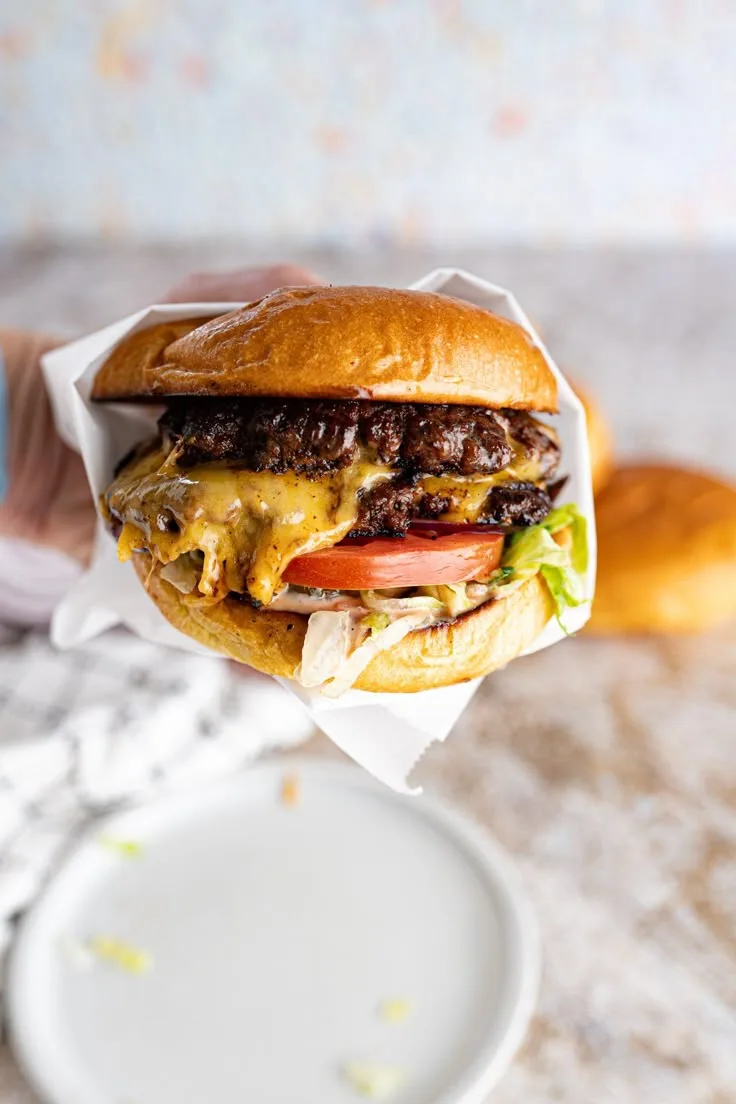
Smash between parchment. Place a ball between two sheets of parchment paper. Press down with a flat, heavy object until the patty is roughly 1/4 inch thick and slightly wider than your bun. Aim for uniform thickness. An edge that’s thinner than the centre will blacken while the middle stays under. Repeat for all patties, keeping them stacked with parchment between.
-
Preheat the air fryer. Set it to 400°F and let it run empty for at least 3 minutes. A fully heated basket sears the surface on contact instead of steaming it.
-
Prep the basket. Lightly oil the basket floor or place a perforated parchment liner down. This stops the ultra-thin patties from welding themselves to the metal.
-
Arrange with space. Place patties in the basket with at least half an inch between them. Overlapping edges steam, not crisp. Most standard baskets fit two to three patties at once.
-
First cook phase. Air fry for 4 minutes at 400°F. The top should look set and the edges just starting to brown.
-
Flip carefully. Slide a thin spatula under each patty. They’ll be fragile. Flip them in one confident motion. If a corner tears, press it back together. It’ll seal as it finishes.
-
Second cook phase. Return the basket and air fry for another 3 to 4 minutes. At the 3-minute mark, start checking temperature. Insert the probe horizontally into the patty edge, aiming for the centre.
-
Add cheese at the end. When the patty reads 155°F, lay a cheese slice on top and close the basket for 45 to 60 seconds. The carryover heat melts the cheese and pushes the internal temp to 160°F.
-
Confirm 160°F, then rest. Probe every patty. Any that haven’t hit 160°F go back in for 30-second bursts. Once they all clear, pull them and let them rest for 1 to 2 minutes on a wire rack or a bun. Resting lets the juices settle so they don’t flood the bun the moment you take a bite.
-
Toast the buns. Toss the split buns into the still-warm air fryer for 30 seconds while the patties rest. Build your burger immediately after.
Real-World Timing Table: 2 oz, 3 oz, and 4 oz Patty Doneness at 400°F
The earlier table gave you a broad range. This one breaks down exactly what you’ll see and what to do at each stage, across the three most common patty sizes. Use it as your working cheat sheet while the air fryer runs.
| Patty Weight | Patience Phase (0–4 min) | The Flip (4 min mark) | Finish Window (4–8 min) | Final Temp Check |
|---|---|---|---|---|
| 2 oz (thin, 1/8″) | Top looks dull pink-grey, edges just starting to set | Surface is fragile; flip with a thin spatula in one motion | Start probing at 5½ minutes; pull at 155°F for cheese | 160°F with carryover rest |
| 3 oz (just under 1/4″) | Top is lightly browned at edges, centre still raw-looking | Flip shows a pale golden sear, not deep brown | Check at 7 minutes; add cheese at 153–155°F | Probe horizontally into edge; 160°F |
| 4 oz (full 1/4″) | Surface appears dry and matte, faint browning on edges | Flip reveals an even light-brown surface | 8–9 minutes before reaching 155°F; cheese at that point | Verify 160°F, rest 90 seconds |
If your air fryer runs hot, the 3 oz patty may hit 160°F by the 7-minute mark. If it runs cool, you might nudge past 9 minutes. The table gives you a roadmap, not a rigid schedule.
The thermometer always settles the argument.
Common Mistakes That Ruin Air Fryer Smash Burgers (And How to Avoid Them)
Skipping the preheat. Dropping meat into a cold air fryer steams the surface. You lose the rapid sear that makes a smash burger’s edges worth eating. Always run the basket empty at 400°F for a full 3 minutes.
Overworking the beef. Kneading salt and seasonings into the raw meat turns the texture firm and sausage-like. Handle the beef as little as possible. Shape loose balls, smash them, then season only the outside right before cooking.
Smashing unevenly. A patty that’s paper-thin at one edge and chunky in the centre will burn in one spot and stay raw in another. Use even, downward pressure between two sheets of parchment. Aim for a consistent 1/4-inch slab with no thin spots.
Overcrowding the basket. Patties that touch or overlap steam instead of crisp. Air needs to circulate around every edge. In a standard 4-quart basket, two to three smash burgers are the safe limit.
Cook in batches if you need more. If you’re curious about the tools that can help you avoid messes during batch cooking, we’ve looked at whether air fryer liners are safe.
Flipping too early or too late. Flip at the 4-minute mark, when the top has set enough to survive the spatula. Flipping sooner tears the patty. Waiting longer lets the underside overbrown while the top stays pale.
Relying on colour instead of temperature. A smash burger’s thin profile browns deceptively fast. The only way to know it’s safe is a 160°F reading on an instant-read thermometer. Probe horizontally into the edge, not straight down through the thin top.
Skipping the rest. Pull the patties the second they hit 160°F and let them sit for a minute or two. Resting prevents the juices from flooding your bun on the first bite.
Air Fryer Smash Burgers vs. Stovetop Cast-Iron: Honest Pros and Cons
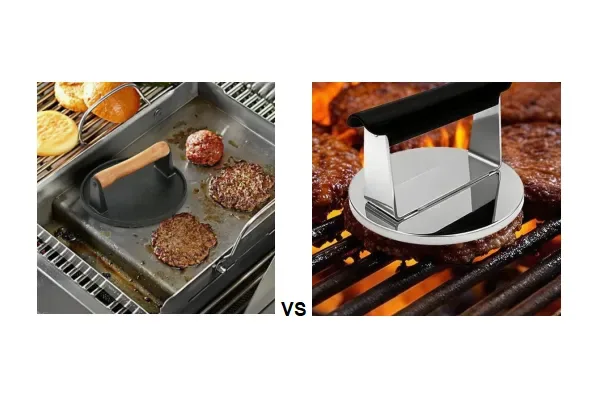
The classic method uses a screaming-hot cast-iron skillet and a heavy press. The air fryer version swaps the griddle for a perforated basket and convection airflow. Neither is better across the board.
Each solves different problems.
| Aspect | Air Fryer Smash Burger | Cast-Iron Smash Burger |
|---|---|---|
| Edge crispiness | Even, lacy crisping from all-around hot air | Intense crust only where meat contacts the pan |
| Ease of cleanup | Minimal splatter; basket often dishwasher-safe | Grease splatters stovetop and backsplash |
| Hands-on attention | Set timer, flip once, probe | Constant pressing, scraping, flipping |
| Grease management | Fat drips away into basket below | Burger fries in its own rendered fat |
| Smoky kitchen risk | Can smoke if drippings hit element | High smoke unavoidable |
| Batch cooking | Limited by basket size; batches needed | Large griddle can cook 4-6 at once |
| Flavour depth | Clean beef taste, less fond | Deep, rich fond from pan contact |
Choose the air fryer when you want minimal mess, no standing over a hot pan, and reliably crisp edges with very little active cooking. Stick with the cast-iron when you’re chasing that griddle-seared crust, cooking for a crowd, or want the deep, buttery flavour that only a hot flat surface can build. Neither method requires you to commit forever.
Many home cooks run air fryer batches on busy weeknights and fire up the skillet on weekends. For more technique deep dives, our growing air fryer guides cover everything from basket prep to temperature calibration.
Expert Tips for Crispy Edges and Juicy Centres Every Time
Use 80/20 beef and keep it cold. Higher fat content delivers juiciness and aids the Maillard reaction that forms the crust. Cold fat holds its shape longer during the first cook phase, giving edges time to crisp before the centre cooks through.
Smash to the right width, not just thickness. The patty should be slightly wider than your bun. It will shrink as it cooks. A too-small patty leaves you with bread overhang and no crusty edge peeking out.
Press once and don’t fuss. Smash the patty before it enters the air fryer, not during. Once it’s in the basket, leave it alone until the flip. Poking or checking it repeatedly releases moisture and sets back the crust.
Lift the patty off the basket floor. Even with a greased surface, a thin patty can stick. After the flip, gently nudge the spatula under the edges to release any spots that have bonded to the metal. This keeps the bottom surface intact.
Cheese only in the final minute. American cheese melts into a perfect blanket in about 45 seconds of residual heat. If you add it earlier, the fat separates and pools in the basket instead of on the burger.
Batch strategically. If cooking multiple rounds, keep finished patties warm on a wire rack set over a baking sheet in a 200°F oven. Stacking them traps steam and softens the crust you worked to build.
For a complete library of appliance know-how, we keep a regularly updated collection of resources. And if a specific issue comes up that isn’t covered here, you’re always welcome to reach out.
Frequently Asked Questions
Can I cook frozen smash burgers in the air fryer?
Yes, you can. Frozen pre-smashed patties don’t need thawing. Add 2 to 3 extra minutes to the total cook time.
Start checking the internal temperature at the 9-minute mark. The target remains 160°F. Directly from frozen, the edges may crisp less because surface moisture takes longer to evaporate.
A brief 1-minute pre-thaw in the microwave can help, but it’s not required.
Why is my air fryer smoking when I cook smash burgers?
Smoke happens when rendered beef fat drips onto the heating element. This is normal with high-fat ground beef. To reduce it, add a tablespoon of water to the bottom drawer below the basket before cooking.
The water catches drippings and lowers the smoke point. You can also blot any visible fat pooling after the flip. Just don’t pour water directly into a hot basket.
Do I need to flip smash burgers in the air fryer?
Yes. Even though air fryers circulate hot air, the bottom of a patty sitting against the basket floor cooks differently than the exposed top. A single flip at the halfway mark evens out the browning and prevents a soggy underside.
Without the flip, expect a pale bottom surface and a drier top edge.
What cheese works best for air fryer smash burgers?
American cheese is the top pick because it melts quickly and evenly at low temperature. Cheddar, provolone, and pepper jack also work, but they need an extra 15 to 30 seconds. Avoid hard cheeses that don’t melt well.
Add the slice when the patty reads 153°F to 155°F. The carryover heat does the rest.
Can I use an air fryer liner with smash burgers?
Yes, and it’s often a good idea. Perforated parchment liners prevent sticking without blocking airflow. Solid silicone liners trap steam and soften the crust, so skip those for smash burgers.
Always weigh down the liner with a patty before you close the basket, otherwise it can fly up into the heating element.
How many smash burgers fit in a standard air fryer basket?
Most 4-quart to 6-quart baskets hold two to three patties comfortably. They need at least half an inch of clearance on all sides for air to circulate. If you crowd the basket, the patties steam each other and you lose the crispy edges entirely.
Cook in multiple batches when feeding a crowd and hold finished patties in a warm oven.
The Final Verdict: When This Method Wins and When to Stick to a Skillet
The air fryer smash burger isn’t a replacement for the cast-iron classic. It’s a different tool for a different moment. You get crispy edges, less mess, and a mostly hands-off cook.
You give up that deep, griddle-seared fond and the ability to knock out six patties at once.
Choose the air fryer on weeknights when cleanup time matters. Choose it when you’re cooking for one or two and don’t want to babysit a smoking pan. Choose it when the weather rules out firing up a griddle outside.
Stick with the skillet when you want the deepest possible crust. Stick with it when you’re feeding a crowd and need four burgers done simultaneously. Neither method demands loyalty.
Most cooks end up using both, pulling out the air fryer on tired Tuesday nights and the cast-iron for lazy Saturday afternoons. The only hard rule is the one we started with: 160°F, every patty, every time.