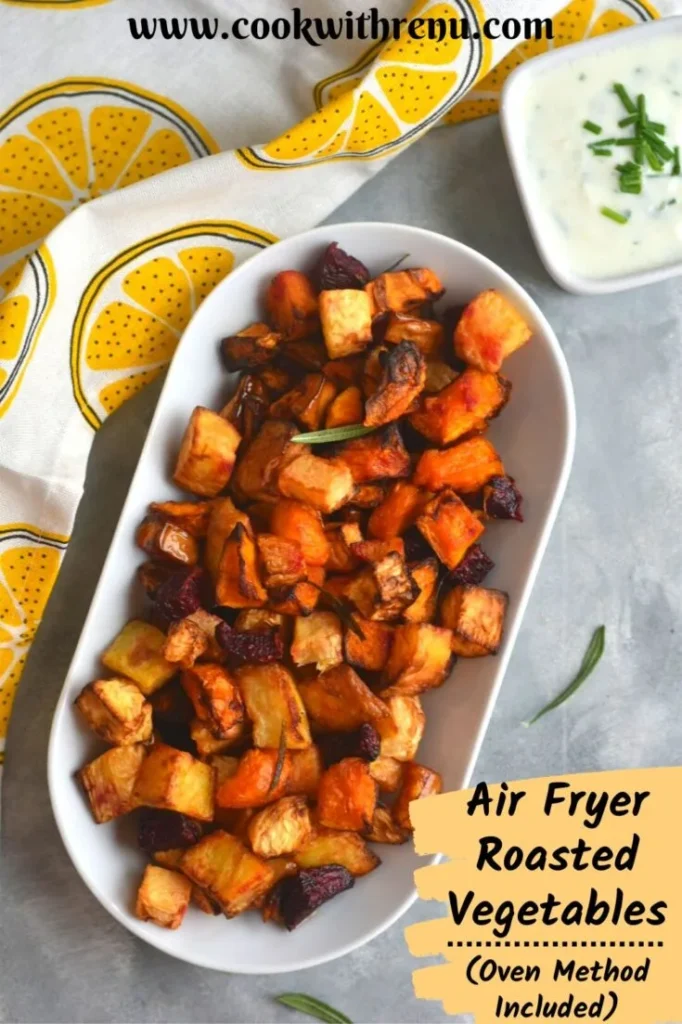
You toss a handful of veggie pieces into your air fryer, set a timer, and cross your fingers. Ten minutes later half the batch is burnt and the rest is still crunchy-raw. Knowing how long to cook veggies in air fryer isn’t a single number you can memorize.
It’s a small set of decisions that shift with the vegetable, its size, and the texture you’re after.
The gap between a crisp-tender side dish and a charred mess almost always comes down to four big variables: density, water content, cut size, and whether you’re starting fresh or frozen. Our research into manufacturer cooking charts and aggregated user feedback shows that once you group your produce by these traits, you can land consistently excellent results. Let’s walk through the exact workflow so you stop guessing.
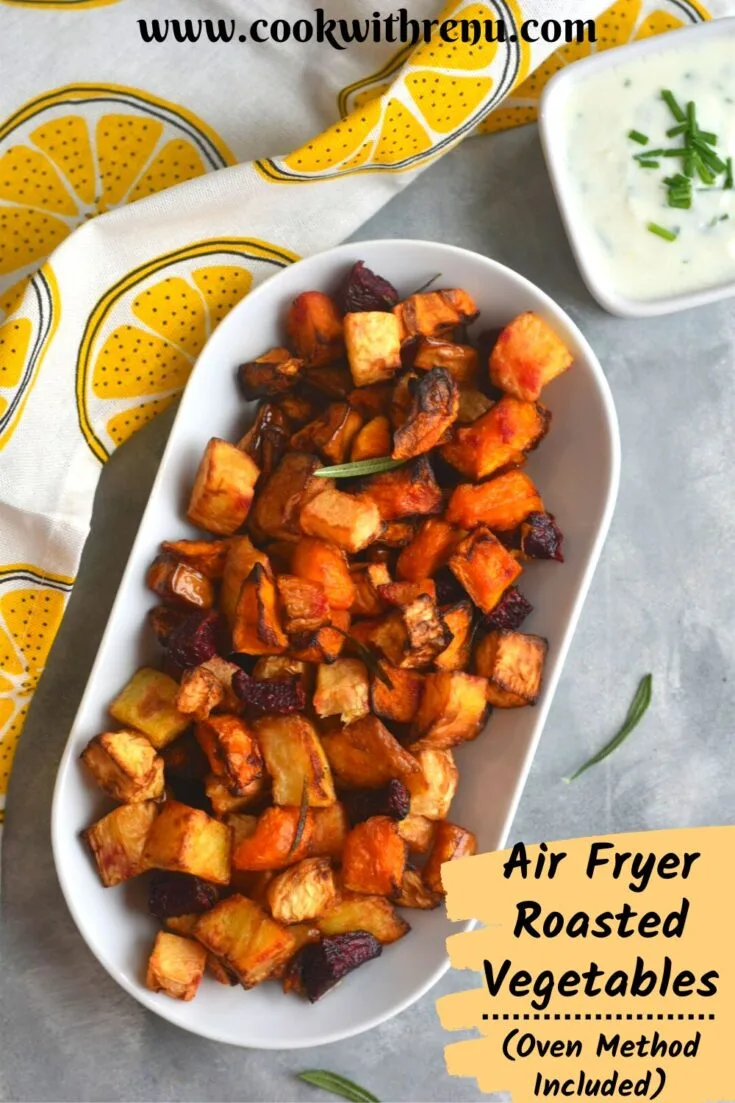
Quick Answer
Most vegetables cook in an air fryer between 7 and 22 minutes at 375°F to 400°F. Soft, high-water picks like zucchini finish in around 7, 9 minutes. Dense root chunks need 14, 22 minutes.
Frozen versions add 3, 5 minutes. The USDA confirms air frying is a safe dry-heat method that reduces oil. Uniform cutting, a light oil coat, and checking early are your three firm rules.
The Problem: Why “Just Cook It” Doesn’t Work for Air Fryer Vegetables
If all vegetables behaved the same way under hot air, this would be simple. They don’t. A carrot chunk is dense and naturally sweet.
A mushroom is mostly water. A floret of broccoli has a bumpy surface that grabs seasoning but also conducts heat unevenly. Setting one timer for a mixed basket is a recipe for disappointment.
The real trouble is that air fryer instructions often give a single generic range like “10, 15 minutes.” That range ignores what you’re actually cooking. It also ignores how your basket is loaded, how large you cut the pieces, and whether the appliance was properly preheated. A better approach is to sort vegetables by their physical traits, then match the time and temperature to those traits.
Once you think in terms of density groups, the guesswork disappears.
The 4 Variables That Make or Break Your Cook Time
Vegetable cook times aren’t random. They follow four clear variables you can control.
Density. Starchy, tightly packed vegetables transfer heat slowly. A one-inch cube of potato takes far longer to become fork-tender than a one-inch chunk of zucchini. Dense vegetables need lower temperatures or longer times so the heat reaches the center before the outside burns.
Water content. High-moisture vegetables release steam as they cook. That steam can prevent browning until the surface dries out. Managing that moisture is why mushrooms and eggplant often need a slightly hotter start and then a shake.
Cut size and shape. Uniformity matters more than exact size. If some pieces are half-inch chunks and others are thin slices, the small ones will blacken while the large ones stay raw. Keeping everything the same thickness ensures the basket’s hot air works on every piece equally.
Fresh or frozen. Frozen vegetables carry ice crystals that hit the hot air and instantly turn to steam. That initial steam bath softens the exterior before crisping can begin. You’ll almost always need a few extra minutes and a slightly higher temperature for frozen, plus a quick pat-dry after the first shake to remove surface moisture.
How the Workflow Actually Works — Your Step-by-Step Roadmap
A reliable air fryer vegetable routine follows the same sequence every time. Skip a step and texture suffers, but stick with it and you’ll turn out crisp-edged, tender results predictably.
Preparing Vegetables for the Air Fryer
Start by washing and then thoroughly drying every piece. Surface moisture is the enemy of crispness. Wet vegetables steam in the basket instead of roasting.
Cut everything to a uniform size. For dense roots, aim for one-inch chunks. For tender spears like asparagus, just trim the woody ends and keep the stalks whole.
For florets, break broccoli or cauliflower into bite-sized pieces with a bit of stem attached so they don’t fall apart.
While the air fryer preheats, check that it has enough clearance around it. Steam needs room to escape, so if you keep the appliance tucked under cabinets, make sure you’ve read up on clearance around it before you fire it up. A quick 3- to 5-minute preheat at your target temperature makes a noticeable difference.
Cold-start vegetables tend to turn out soft instead of crisp.
Oil, Seasoning, and Basket Arrangement
Toss the vegetables in a bowl with a teaspoon or two of oil, not directly in the basket. A light, even coat is all you need. Avocado oil works well for high-heat roasting.
Extra-virgin olive oil can smoke past 375°F, so if you use it, keep the temperature at the lower end. Add dry seasonings after the oil toss so they stick.
Arrange the pieces in a single layer with a little space between them. Air needs to flow around each surface. If the basket is too full, you’ll end up with steamed vegetables instead of roasted ones.
For stick-prone produce, a perforated parchment liner can help as long as it’s approved for high heat and used correctly.
Shaking, Checking, and the Rest That Prevents Sogginess
Set the timer for the lower end of the range for your vegetable density, then shake the basket or flip the pieces halfway through. The shake isn’t optional. It redistributes pieces that may be shielding each other from the hot air.
Check doneness with the tine of a fork. It should slide into dense vegetables without resistance, but the outside should still hold its shape. If the inside isn’t tender yet but the outside is browning fast, drop the temperature by 10°F and add 2, 3 minutes.
As soon as the vegetables are done, tip them onto a plate immediately. Leaving them in a hot basket turns crisp edges soggy in under a minute.
Dense Root Vegetables: Potatoes, Carrots, Beets, and Sweet Potato Chunks
Root vegetables are the most satisfying to air fry, but they’re also the easiest to get wrong. Their natural sugars caramelize beautifully when the timing is right, and they burn bitterly when it isn’t.
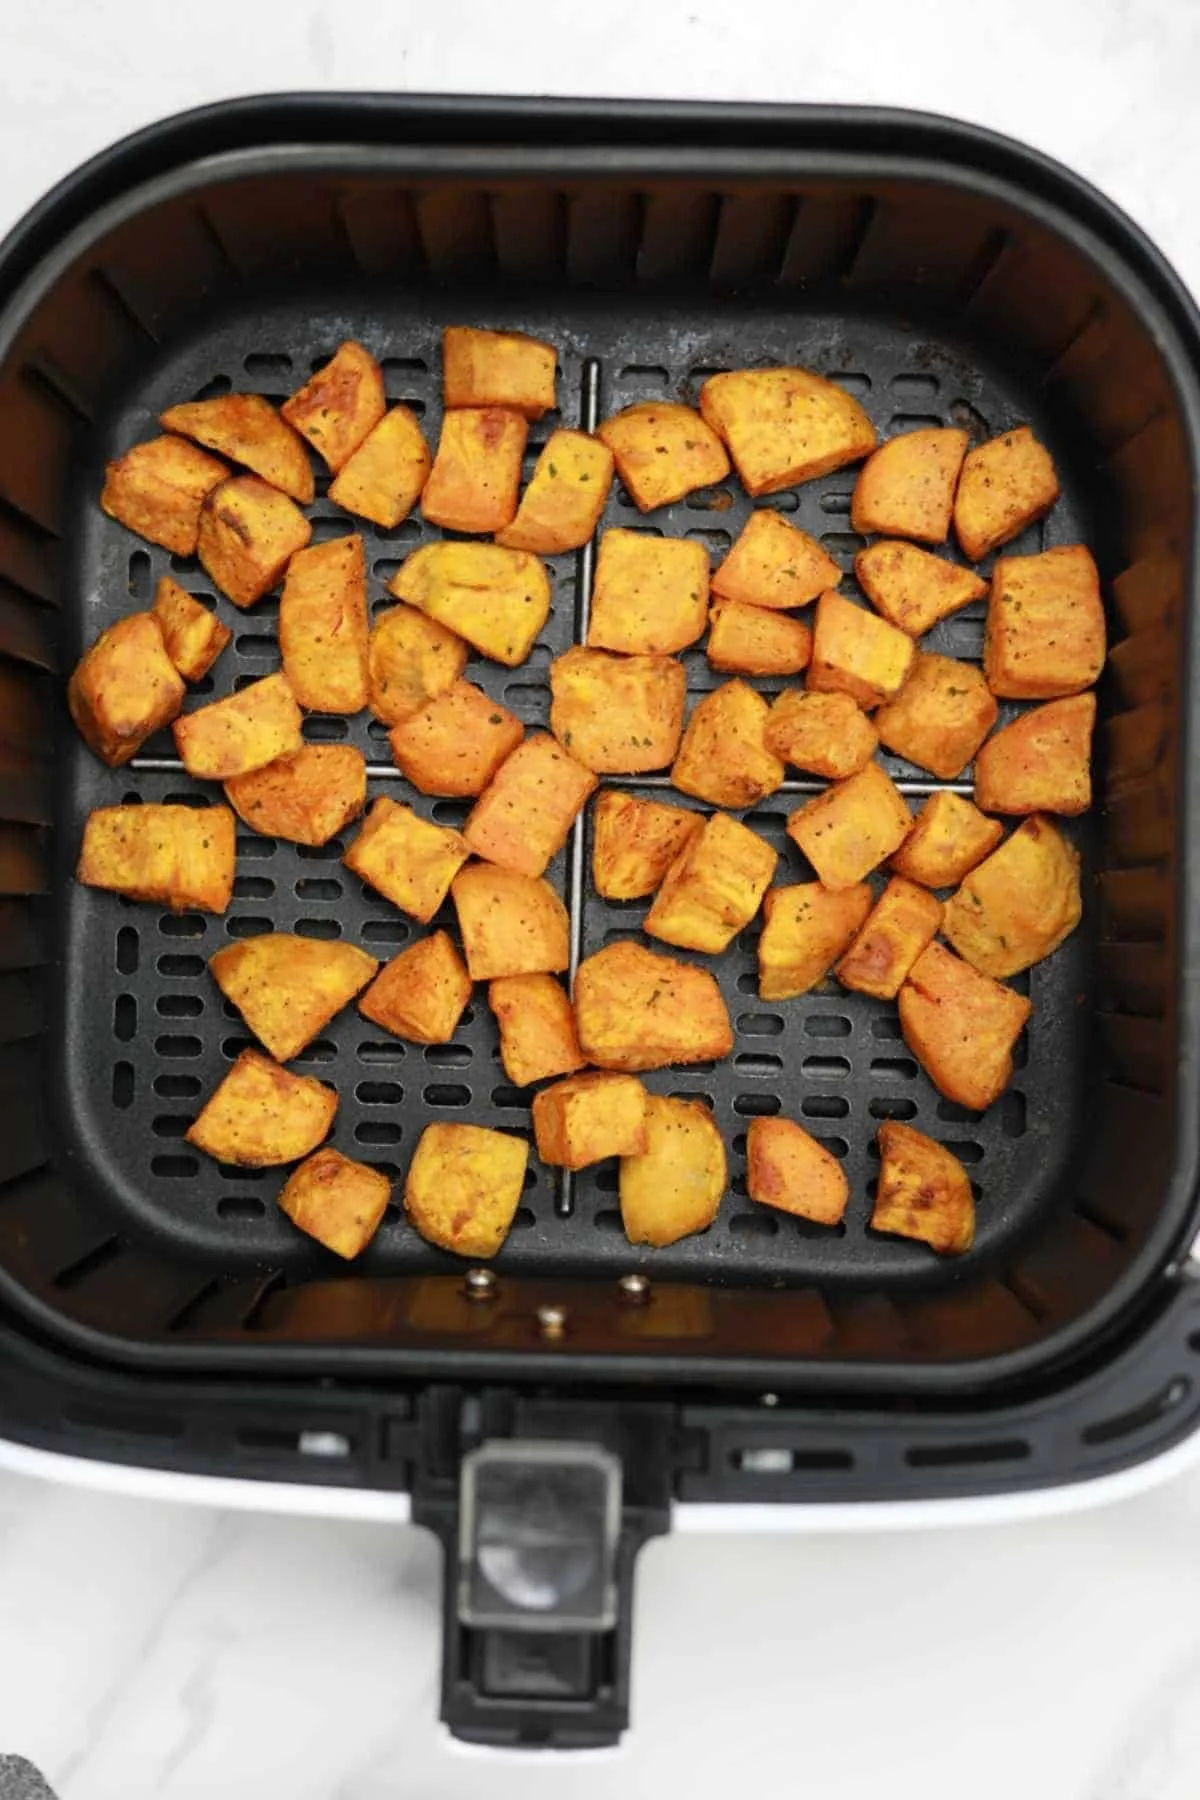
Starchy cubes need enough heat to cook through to the center before the sugar-heavy exterior scorches. That’s why 380°F is the sweet spot for most root chunks. It gives the inside time to soften while the outside develops a golden crust.
If you cut wedges instead of cubes, add 2, 3 minutes to account for the thicker center.
| Vegetable (fresh, 1-inch chunks) | Temperature | Time | Notes |
|---|---|---|---|
| Potato wedges (½-inch thick) | 400°F | 18–22 min | Shake at 10 min. Soak in water 30 min before for extra crisp. |
| Sweet potato cubes | 380°F | 14–18 min | Watch for burning after 15 min. Lower heat if edges darken fast. |
| Carrot chunks | 380°F | 12–16 min | Cut evenly. Baby carrots work if halved lengthwise. |
| Beet cubes | 380°F | 15–20 min | Wear gloves. Beets take longer—test center with fork tine. |
| Parsnip chunks | 380°F | 12–15 min | Slender parsnips cook faster than thick carrots. |
A trick we see repeatedly in manufacturer guides: after the first 10 minutes, open the basket and give those root chunks a generous shake. It prevents the flat sides from sticking and evens out the browning. If you’re cooking a big batch, work in two smaller loads rather than piling everything in at once.
Overcrowding creates steam and wipes out the crispness you’re after.
Cruciferous Veggies: Broccoli, Cauliflower, and Brussels Sprouts
Cruciferous vegetables are built for the air fryer. Their bumpy, floret-packed surfaces catch seasoning, and their relatively low water content means they crisp up fast with no sogginess. The trick is not overdoing them.
Broccoli and cauliflower go from perfectly charred to acrid in about 90 seconds.
Cut broccoli and cauliflower into even florets with a little stem on each one. Halved Brussels sprouts are your best bet. Whole sprouts can still have a dense, cabbage-like core when the outer leaves are crisp, so halving exposes the interior to the hot air.
| Vegetable (fresh) | Temperature | Time | Notes |
|---|---|---|---|
| Broccoli florets (bite-size) | 380°F | 8–10 min | Shake at 5 min. Floret tips should be dark brown, not black. |
| Cauliflower florets | 375°F | 10–12 min | Benefits from a slightly lower temp for even tenderness. |
| Brussels sprouts (halved) | 375°F | 12–15 min | Arrange cut-side down for the first 8 min, then shake. |
| Cabbage wedges (1-inch thick) | 375°F | 10–14 min | Brush oil between leaves. Edges crisp while interior steams. |
Brussels sprouts reward extra attention. Placing them cut-side down for most of the cook time lets the flat surface caramelize against the basket floor while the rounded top browns more gently. After the shake, the loose outer leaves that separate will become fantastic little chips if you let them go another minute.
For both broccoli and cauliflower, a fine mist of oil plus a sprinkle of salt is usually enough. Heavy wet marinades can pool in the florets and create steamed spots. If you want a punch of flavor, toss the cooked pieces with a dry spice blend or a tiny drizzle of lemon juice right when they come out of the basket.
The residual heat carries the aroma without undoing the crispness.
Ready to expand your technique further? Our air fryer technique collection covers more tricks for temperature control and basket management, and our recipe archives are full of vegetable-forward ideas once you’ve nailed the basic workflow. The same pattern you just learned with roots and cruciferous picks applies to tender vegetables too, they need even less time and a watchful eye, which we’ll cover next.
Tender, High-Water Veggies: Zucchini, Peppers, Mushrooms, and Eggplant
These vegetables are mostly water. That means they steam themselves from the inside out. If you treat them like potatoes, you’ll get mush.
The goal is maximum surface browning in the shortest possible time. High heat and a light hand with oil do the job.
Cut zucchini and summer squash into half-moons or thick slices. Thin coins wilt too fast. Bell peppers do best as wide strips.
Mushrooms can be quartered or halved if small. Whole mushrooms hold their shape but need a few extra minutes. Eggplant cubes absorb oil like a sponge, so toss them quickly and don’t let them sit before cooking.
| Vegetable (fresh) | Temperature | Time | Notes |
|---|---|---|---|
| Zucchini / summer squash (½-inch half-moons) | 400°F | 7–9 min | Don’t salt before cooking. Salt draws out water and ruins texture. |
| Bell pepper strips | 400°F | 8–10 min | A light char on the skin is perfect. No need to peel. |
| Mushrooms (quartered) | 390°F | 8–10 min | They’ll release water first, then brown. Don’t shake too early. |
| Eggplant cubes (1-inch) | 390°F | 10–14 min | Toss with oil right before they hit the basket. |
| Cherry tomatoes (whole) | 380°F | 6–8 min | Watch closely. They burst fast and turn into sauce. |
Mushrooms are the trickiest of the bunch. For the first 5 minutes, they weep moisture and look pale. Let them be.
After the water evaporates, the surfaces start to crisp. Shake only at the 6-minute mark. Eggplant follows a similar pattern.
Its spongy structure holds onto water. A quick high-heat blast drives that moisture out so the edges can finally brown.
Stalk and Spear Veggies: Asparagus, Green Beans, and Snap Peas
Long, thin vegetables cook fast and need very little oil. The main risk is letting their tips burn while the thicker stem stays underdone. Arranging them in a single, crosswise layer helps.
For asparagus, you can line up the spears so the tips face the same direction, then rotate the whole batch at the halfway point.
Green beans and snap peas are even simpler. They’re uniform enough that a quick toss is all you need. Snap peas get a lovely blister on the pod if you let them go an extra minute.
| Vegetable (fresh) | Temperature | Time | Notes |
|---|---|---|---|
| Asparagus spears (medium thickness) | 400°F | 6–9 min | Thin spears take 5 min. Thick spears need 10. Shake once. |
| Green beans (whole, trimmed) | 380°F | 7–9 min | Add a pinch of salt after cooking. They shrink slightly. |
| Snap peas (whole) | 390°F | 5–7 min | Toss with sesame oil for an almost wok-fried character. |
| Celery sticks (3-inch lengths) | 380°F | 8–10 min | Surprising but good. They soften and sweeten. |
One detail people overlook: dry the spears and beans thoroughly after washing. Water droplets clinging to the tip of an asparagus spear will turn into a steam pocket and leave that spot limp instead of crisp. A quick roll in a clean kitchen towel before oiling makes a visible difference.
Frozen Vegetables: No-Thaw Times and Texture Fixes
Frozen vegetables go straight from freezer to air fryer. Do not thaw them. Thawing turns the surface into a soggy layer that will never crisp.
You want the ice crystals to sublimate directly in the hot air. That flash of steam actually helps cook the interior while the surface dries out and browns.
Frozen veggies almost always need a few extra minutes compared to fresh. Start at the same temperature, then check for doneness at the upper end of the fresh range. Shake the basket more frequently to knock off any frost that gathers.
If the vegetables still look wet after the first half of cooking, give the basket a gentle pat with a paper towel to pull excess moisture, then return it to the heat.
| Vegetable (frozen, unthawed) | Temperature | Time | Notes |
|---|---|---|---|
| Frozen broccoli florets | 375°F | 10–14 min | Smaller florets cook faster. No need to add oil if they’re already coated. |
| Frozen Brussels sprouts (halved if large) | 375°F | 14–18 min | They’ll brown nicely. Give them one extra shake. |
| Frozen green beans | 380°F | 8–10 min | Often pre-blanched, so they cook fast. Watch for shriveling. |
| Frozen mixed vegetables (corn, peas, carrot dice) | 380°F | 8–10 min | Spread in a thin layer. Peas can bounce around and dry out if overcooked. |
| Frozen cauliflower florets | 375°F | 10–13 min | Florets hold shape well. Season after cooking to avoid clumping. |
Frozen vegetables with sauce or seasoning already mixed in often burn because of added sugars. Plain frozen vegetables give you the most control. If you’re working with a seasoned blend, drop the temperature by 10°F and check a full 2 minutes early.
Different air fryer models distribute heat slightly differently, so you might want to consult the general guidance in our air fryer resource library for brand-specific quirks. You’ll quickly learn whether your model runs hot or cool after a few batches.
The Air Fryer Vegetable Cheat Sheet (Time & Temp Reference Chart)
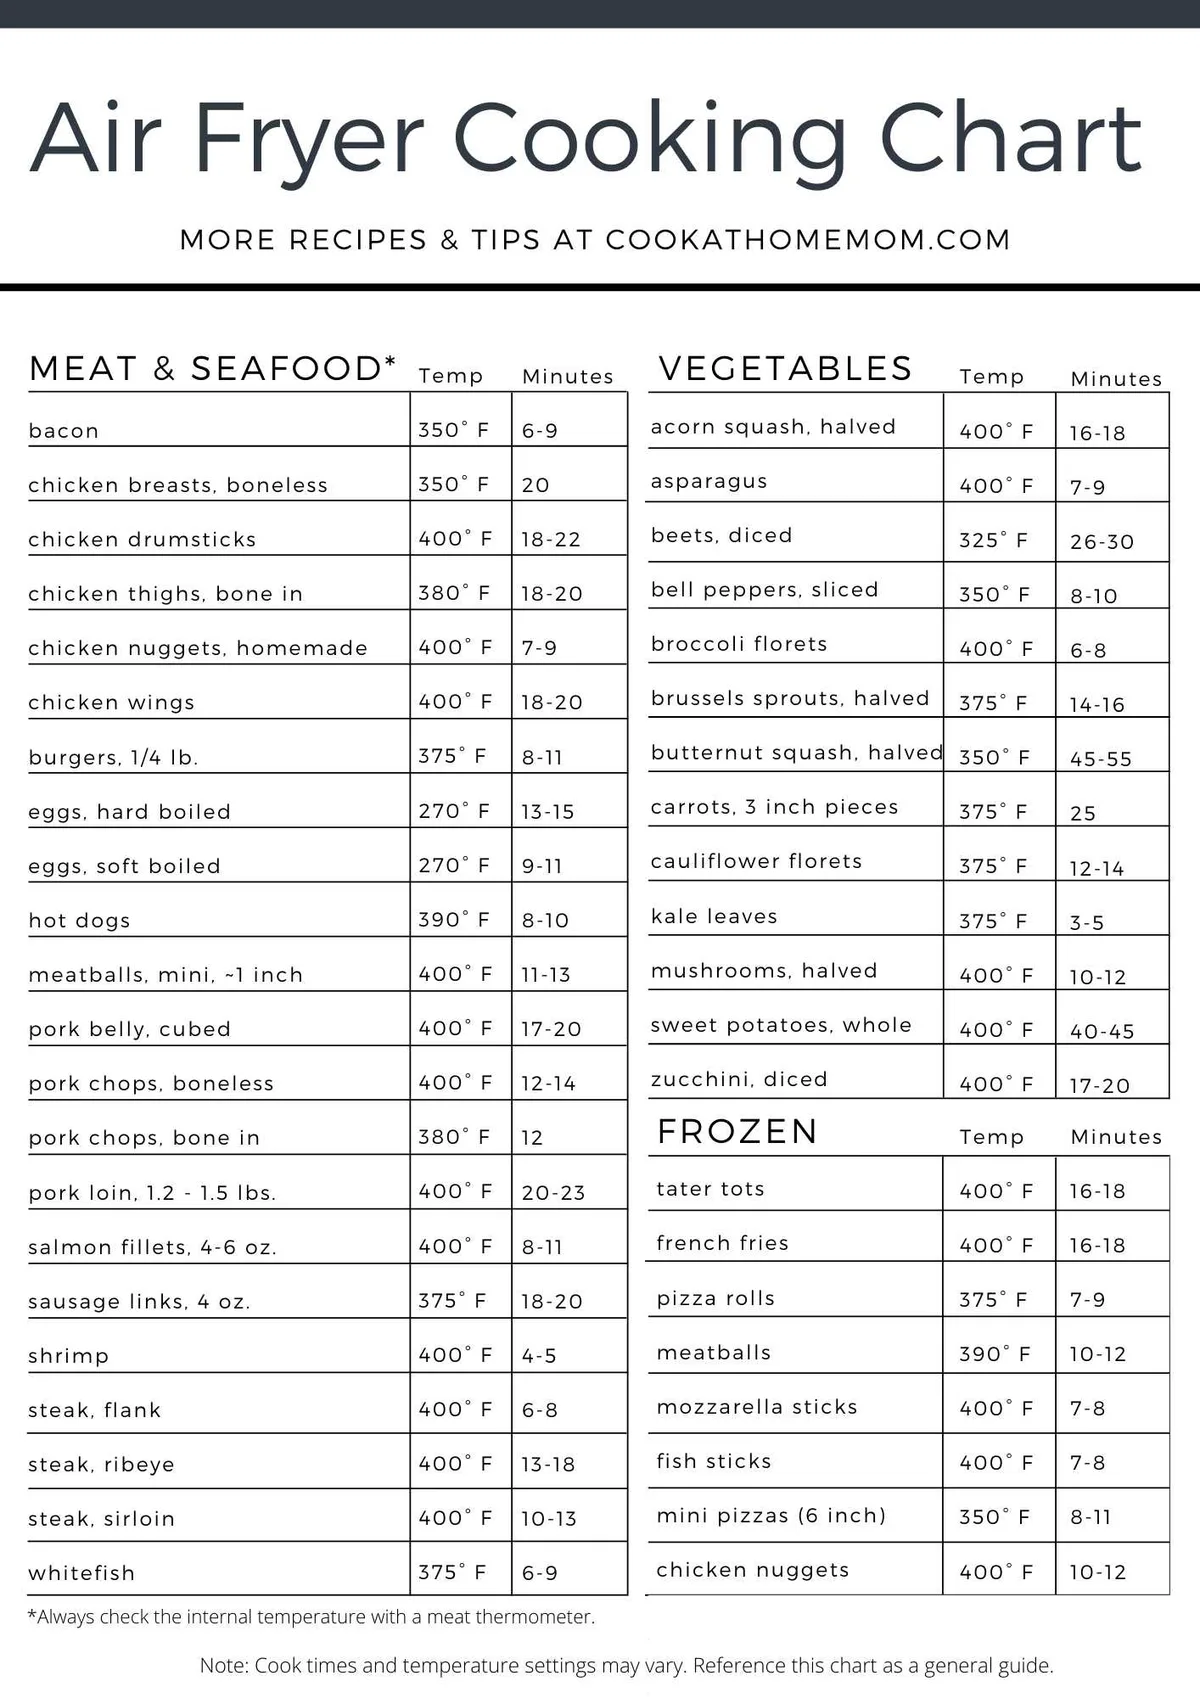
The chart below pulls all the timing data into one place. Use it as a quick reference while you cook. The temperature column assumes a preheated air fryer and vegetables cut to roughly one-inch pieces unless noted otherwise.
Times are a starting point. Check early and adjust in small increments. As of 2026, these ranges reflect the most widely recommended settings across popular basket-style air fryer models.
The USDA confirms that air frying is a safe dry-heat cooking method that reduces overall fat content compared to deep frying.
| Vegetable | Temperature | Time (fresh) | Time (frozen) | Key Tip |
|---|---|---|---|---|
| Asparagus (medium spears) | 400°F | 6–9 min | 8–10 min | Pat dry before oiling. |
| Bell peppers (strips) | 400°F | 8–10 min | 9–11 min | Char is flavor. |
| Broccoli (bite-size florets) | 380°F | 8–10 min | 10–14 min | Shake at 5 min. |
| Brussels sprouts (halved) | 375°F | 12–15 min | 14–18 min | Cut-side down first. |
| Carrots (1-inch chunks) | 380°F | 12–16 min | 14–17 min | Uniform size is everything. |
| Cauliflower (florets) | 375°F | 10–12 min | 10–13 min | Don’t overcrowd. |
| Corn on the cob (small ears) | 400°F | 12–14 min | 15–17 min | No need to wrap. |
| Eggplant (1-inch cubes) | 390°F | 10–14 min | 12–15 min | Oil just before cooking. |
| Green beans (trimmed) | 380°F | 7–9 min | 8–10 min | Season after. |
| Mushrooms (quartered) | 390°F | 8–10 min | 10–12 min | Wait for the water release. |
| Potato wedges (½-inch) | 400°F | 18–22 min | 20–24 min | Soak fresh ones in water first. |
| Sweet potato (1-inch cubes) | 380°F | 14–18 min | 16–20 min | Watch for sugar burn. |
| Zucchini (half-moons) | 400°F | 7–9 min | 8–10 min | Salt only after cooking. |
| Mixed vegetables (frozen blend) | 380°F | N/A | 8–10 min | Thin layer only. |
Print this chart or keep it on your phone. It turns the guesswork into a quick glance.
5 Mistakes That Turn Your Veggies Soggy, Burnt, or Bland
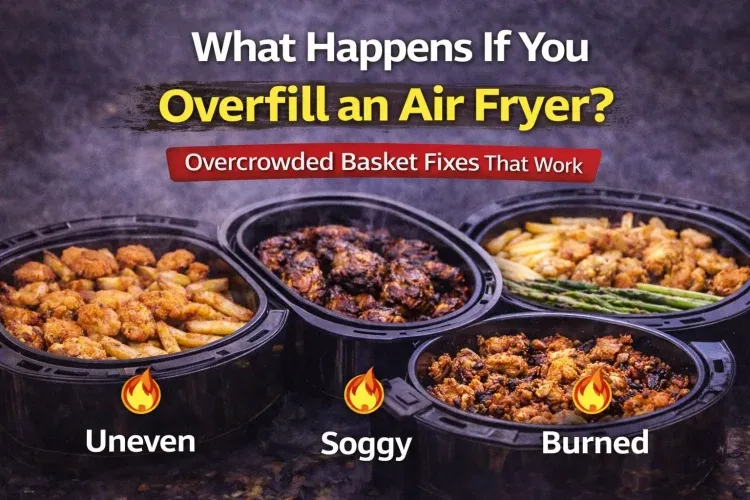
A few common missteps account for nearly every bad batch of air-fried vegetables. Fix these and your results will jump from disappointing to consistently good.
Overcrowding the basket. This is the number one offender. Piling vegetables on top of each other blocks the hot air and creates steam. The result is a pale, soggy pile with zero crispness.
Cook in batches. Two smaller loads always beat one overstuffed basket.
Skipping the dry step. Wet vegetables never crisp. After washing, pat everything completely dry with a towel. For root vegetables you’ve soaked in water to release starch, drain them and blot off every surface droplet before oiling.
Uneven cutting. If some pieces are an inch thick and others are slivers, you’re guaranteeing a mix of raw and cremated bits. Take the extra minute to cut consistently. A rough uniformity is all you need.
Salting too early. Salt pulls water out of high-moisture vegetables like zucchini and eggplant. If you salt before cooking, you’ll end up with a pool of liquid in the bottom of the basket and leathery vegetables. Season these varieties after they come out of the air fryer, or salt immediately before they go in with no waiting.
Using aerosol cooking sprays with propellants. Many non-stick sprays contain additives that can damage the coating on air fryer baskets over time. Use a refillable oil mister with pure oil instead. Your basket will last longer and your vegetables will taste cleaner.
Pro Tips for Crispy-Edged, Tender-Centered Results Every Time
Small adjustments turn good into great. These techniques come from aggregated user feedback across recipe forums and manufacturer guidance.
Preheat for a full 3 to 5 minutes. The vegetables need to hit a hot environment instantly. If the basket is cold, the first minute is spent warming up, and that lost time means steam instead of sear.
Cut denser vegetables a bit smaller than tender ones if you’re cooking them solo. For a one-inch potato chunk, try a slightly larger one-inch zucchini piece. The zucchini cooks faster, so matching the size isn’t about equality.
It’s about understanding that density dictates heat transfer speed.
Give the vegetables space, but don’t obsess. A few pieces can touch. The air just needs channels to move through.
If every single piece has a millimeter of clearance, you’re doing too much work. Space them as if you’re giving each one a little personal bubble, not a social-distancing mandate.
Use a fork tine, not a toothpick, to test doneness. A fork’s wider tines give you honest feedback. If it slides in with no resistance, the vegetable is tender.
A toothpick can fool you by slipping through a soft spot while the core is still hard.
Finish with acid, not more oil. A squeeze of lemon or a splash of vinegar right after cooking lifts every flavor without undoing the crispness. Oiling after the fact just makes things greasy.
The acid wakes up the natural sweetness that the hot air brought out.
How to Cook Mixed Vegetables in One Batch (Without Chaos)
Mixing vegetables in a single batch is possible, but you need a strategy. Don’t just toss carrots, zucchini, and mushrooms into the basket and hope for the best. They all finish at different times.
Instead, use a staggered approach.
Start with the densest vegetables first. Put the root chunks in the basket and let them cook for about half their total time. Then pull the basket out, add the medium-density pieces like broccoli or cauliflower, shake everything, and continue.
Finally, in the last 5 to 6 minutes, add the tender quick-cookers like bell pepper strips or zucchini half-moons.
Here’s a sample timeline for a mixed batch of potato wedges, broccoli florets, and bell pepper strips at 390°F. Put the potato wedges in alone. Cook for 10 minutes.
Pull the basket, add the broccoli, and shake. Cook another 5 minutes. Add the peppers, shake one more time, and cook for a final 5 to 6 minutes.
Everything finishes together, each vegetable at its own ideal doneness.
If you don’t want to stagger, you can cut all the vegetables to sizes that roughly equalize cooking time. Make the potato pieces smaller and the zucchini pieces larger. It takes a little trial and error, but once you know your air fryer’s performance, you’ll be able to build a custom blend that works with one timer.
For more inspiration on building complete meals from these techniques, our recipe collection has vegetable-forward dishes that pair beautifully with what you’ve learned here.
Frequently Asked Questions About Air Fryer Vegetables
Can I cook different vegetables together in an air fryer?
Yes, but stagger them by density. Start with root vegetables, add cruciferous pieces halfway through, and toss in tender ones for the final few minutes. If you dump everything in at once, the fast-cooking vegetables will burn or turn to mush while the dense ones stay raw.
Cutting all pieces to roughly the same size helps, but density still wins the race.
Do I need to preheat my air fryer for vegetables?
Yes, always preheat for 3 to 5 minutes. Vegetables need to hit a hot environment immediately to start browning instead of steaming. Skipping preheat adds 2 to 3 minutes of limp, colorless cooking time.
An oven thermometer confirms most models reach the set temperature within 5 minutes, but the first minute after adding food is critical for texture.
Why are my air fryer vegetables soggy?
Sogginess comes from three things: overcrowding, wet surfaces, or skipping the shake. Overcrowding blocks airflow and creates steam. Surface moisture from washing turns into steam instantly.
Not shaking the basket leaves pieces sitting in their own released liquid. Fix all three and your vegetables will crisp up dramatically.
How much oil should I use for air fryer vegetables?
A teaspoon to a tablespoon is plenty for 2 to 3 cups of vegetables. You want a light, even coat, not a drenching. Too much oil pools in the bottom of the basket and smokes.
Toss the vegetables in a bowl with the oil, then transfer them to the basket. A refillable oil mister gives you the thinnest, most even coverage.
Can I put parchment paper or liners in the air fryer with vegetables?
Yes, if you use perforated liners designed for air fryers. Solid parchment blocks airflow underneath and defeats the purpose. Only place the liner in the basket after preheating.
A loose sheet left during preheat can fly up into the heating element and catch fire. Make sure any liner you use is rated for the temperature you’re cooking at.
How do I clean the air fryer basket after cooking vegetables?
Let the basket cool, then wash it with warm soapy water and a non-abrasive sponge. Vegetable residue, especially from starchy potatoes or sugary carrots, can bake onto the surface. A short soak loosens it.
Avoid aerosol sprays with propellants during cooking, they damage the non-stick coating over time and make cleanup harder.
Your Air Fryer Vegetable Workflow Blueprint: From Guesswork to Confidence
Cook times stop mattering once you internalize a few rules. Group vegetables by density. Cut uniformly.
Dry every surface. Oil lightly. Give the basket space.
Shake once. Check with a fork tine when the low end of the timer hits. If it’s not tender, add 2 minutes and check again.
Pull the vegetables as soon as they’re done. Never let them sit in a hot basket.
Use the cheat sheet as a starting point, not a law. Your air fryer model, your produce, and your preferred texture will shift the numbers slightly. Track what works and adjust in small increments.
Within a few weeks, you won’t need the chart. You’ll know your own kitchen well enough to glance at a sweet potato cube and set the timer without a second thought.